Creating a Task
Creating a Task from the Main Menu
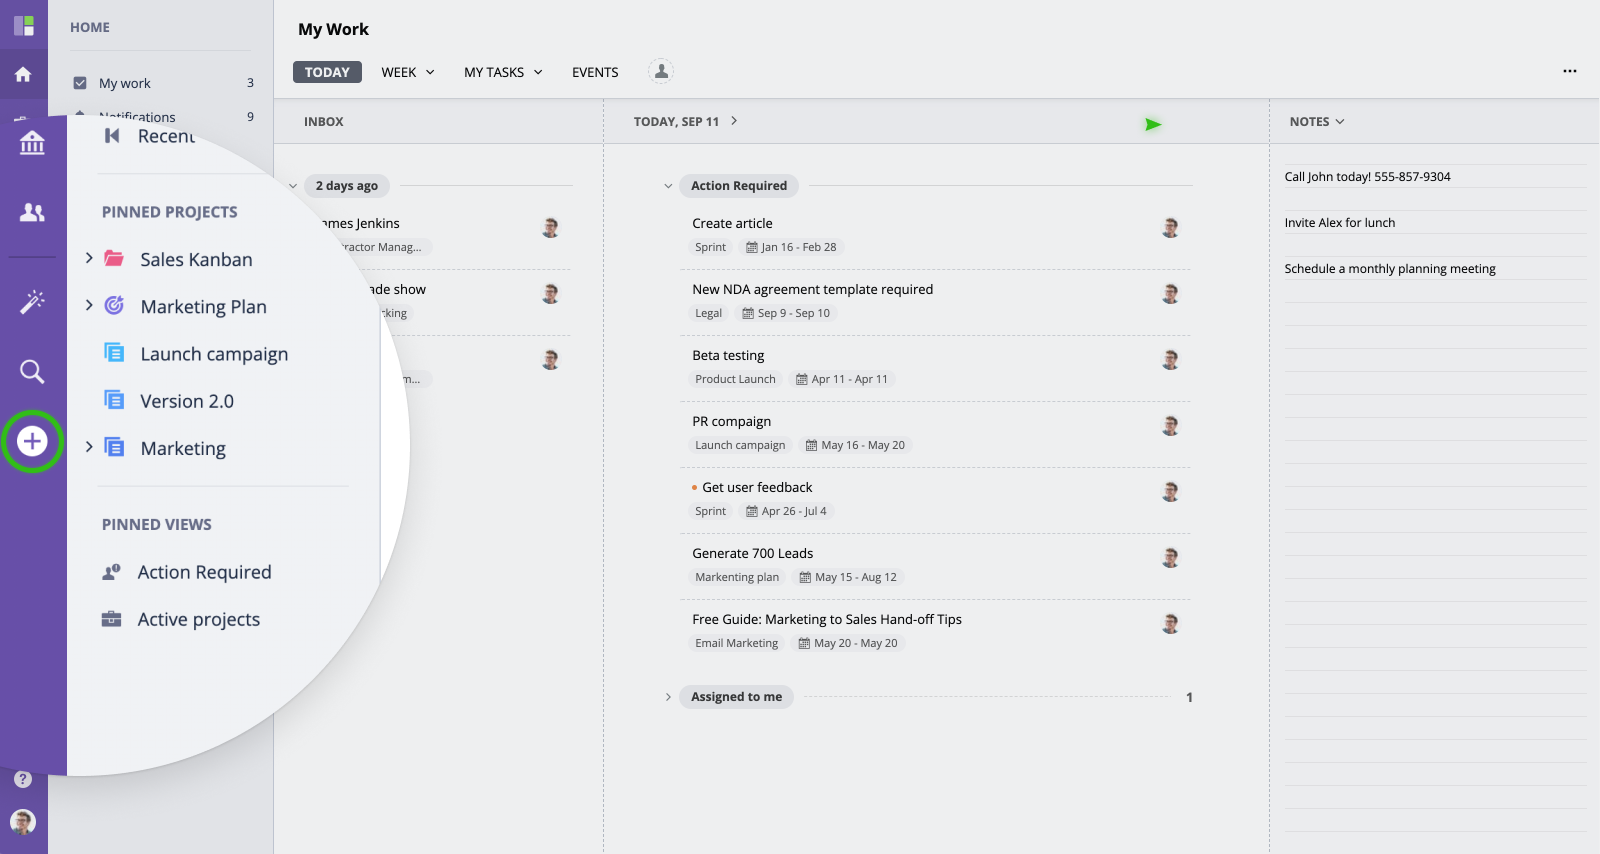
To create a task from any screen or enter advanced settings, click "+" button in the main menu and switch to the "Task" tab.
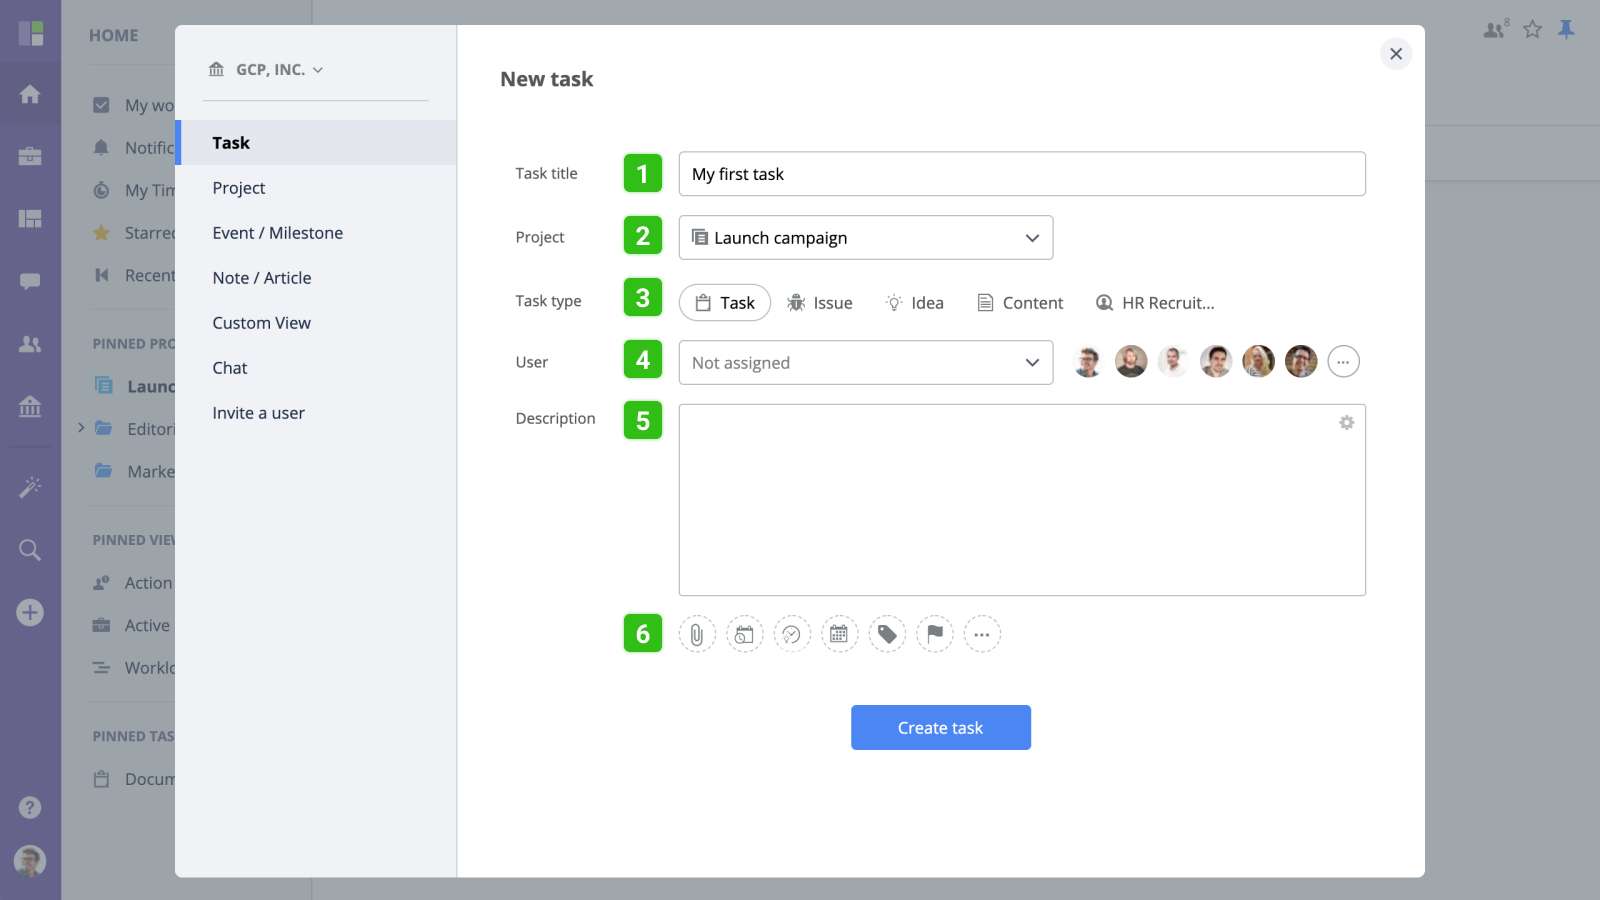
Once on the New Task screen, you will be asked to select a project and a user you want to assign this task to (you can leave the User field blank if you don't want to assign the task at the moment). Select the task type and enter the title and description (optional).
To attach a file, click the "Attach file" button or simply drag and drop the file from your computer into GoodDay window.
To enter additional task fields, e.g. Priority, Estimate, etc., click the "More" button and select the fields you want to be displayed on this form.
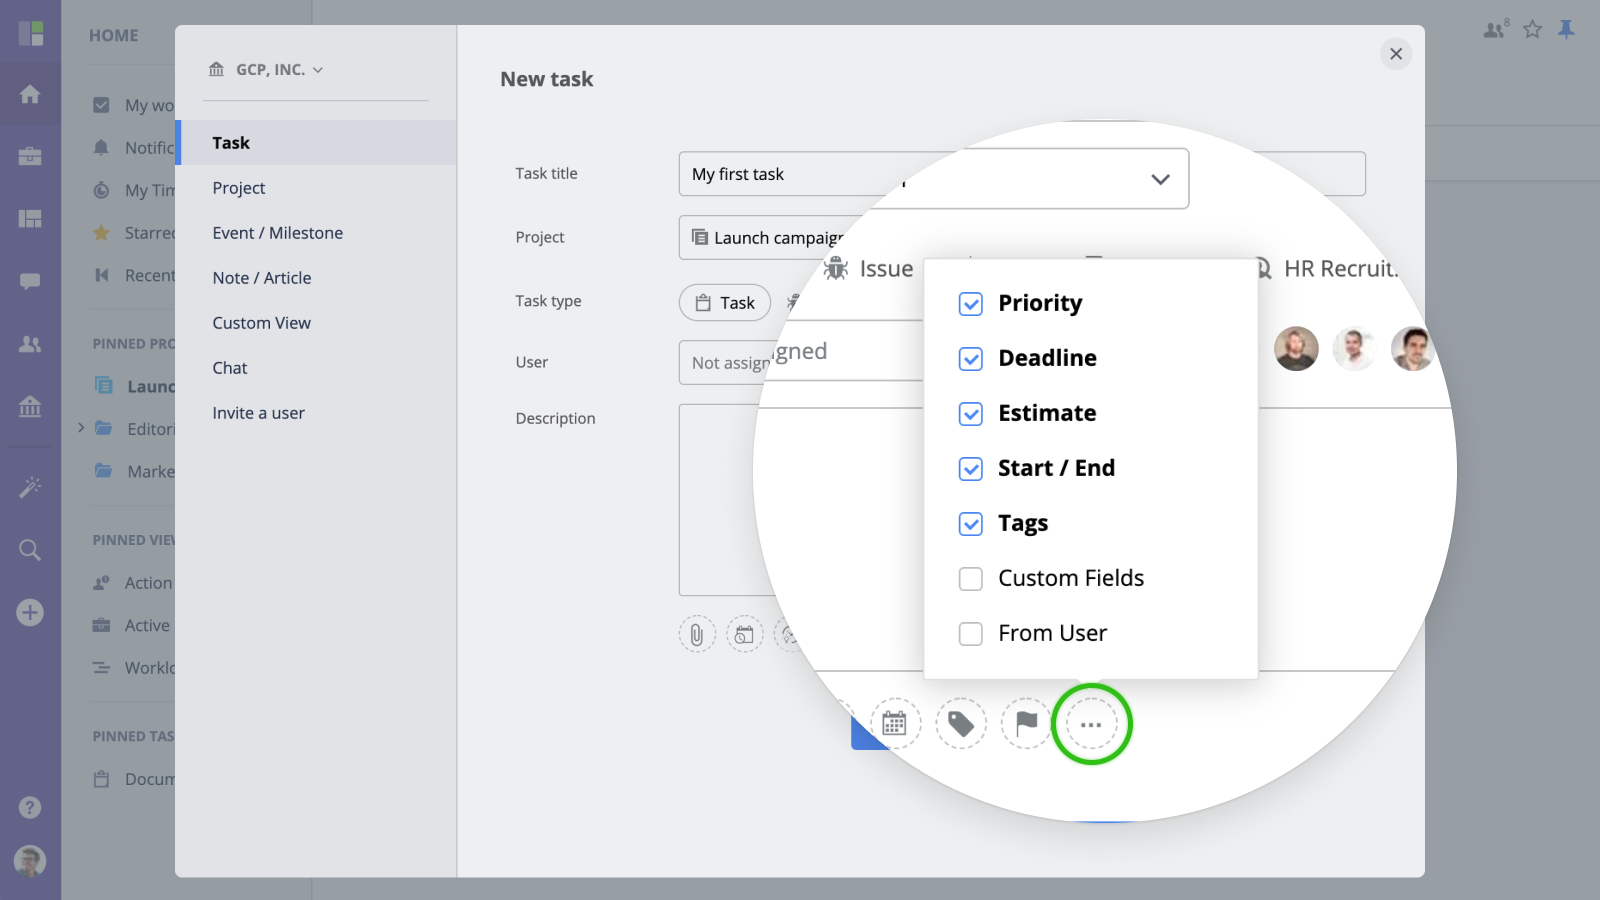
- Priority - new task priority
- Deadline - task deadline date
- Estimate - approximate time that will be required to complete the task
- Tags - task tags
- Custom fields - additional fields associated with the task
- From user - when enabled, you can create new tasks on behalf of another user
- Users - you can add multiple users who will collaborate on this task
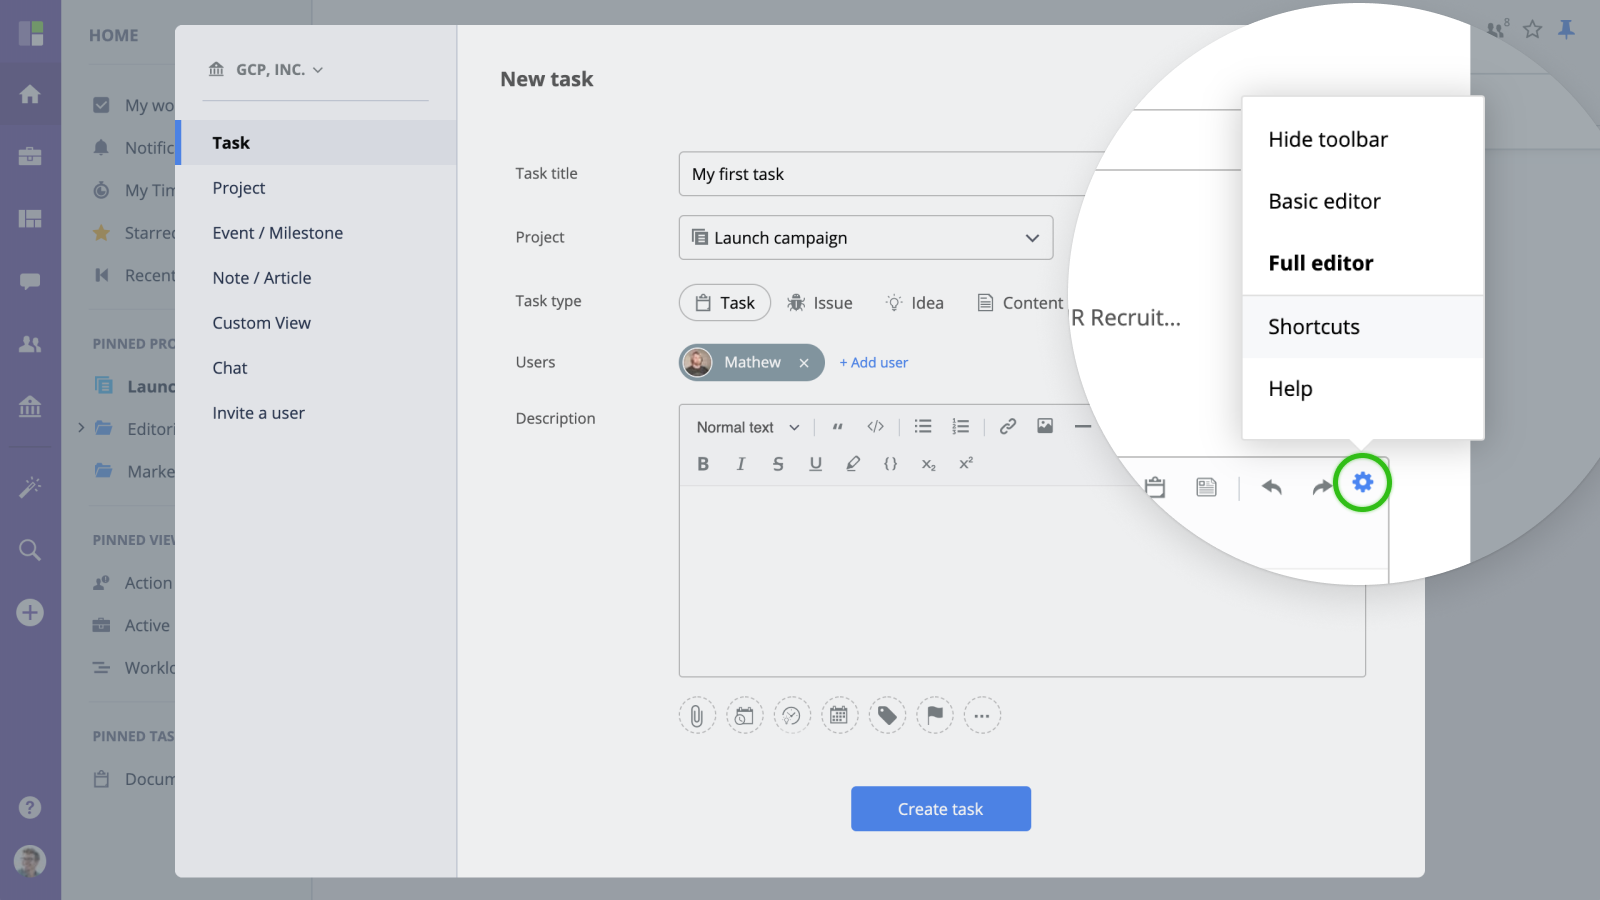
You can use the GoodDay Rich Text Editor to edit the task content.
Creating Tasks from a Project
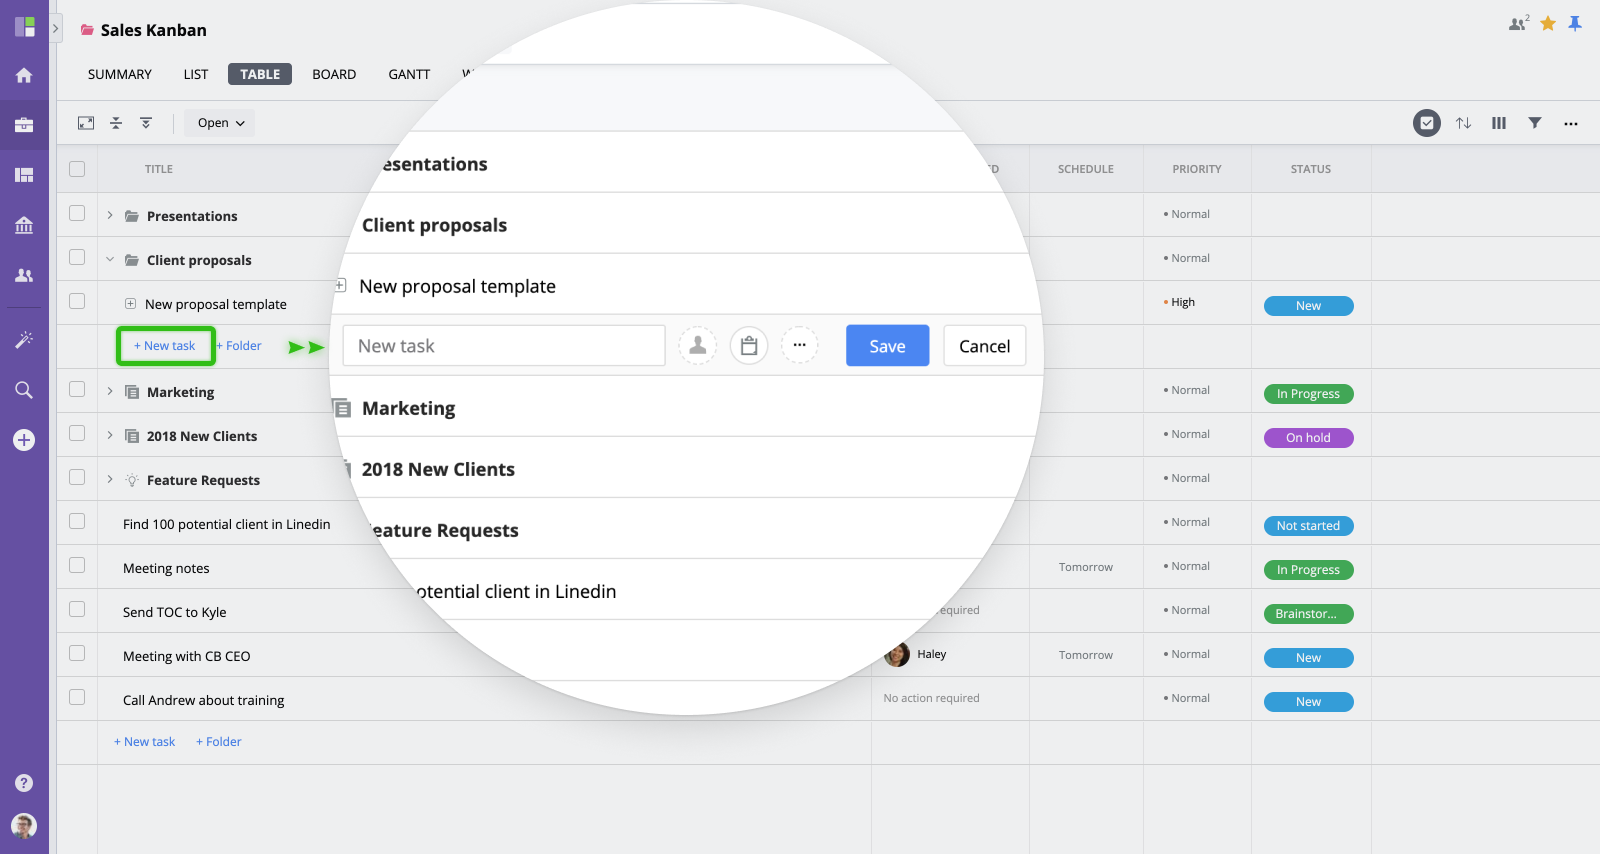
All tasks views (Tasks List, Table, Board, Timeline) support quick (inline) task creation. To learn more please refer to the relevant help articles about Views.
Importing Tasks
You can also create multiple tasks by importing them from a CSV file. To import tasks into a single folder/project, navigate to this folder and switch to Tasks view. Then select Import from CSV option from the "More" menu:
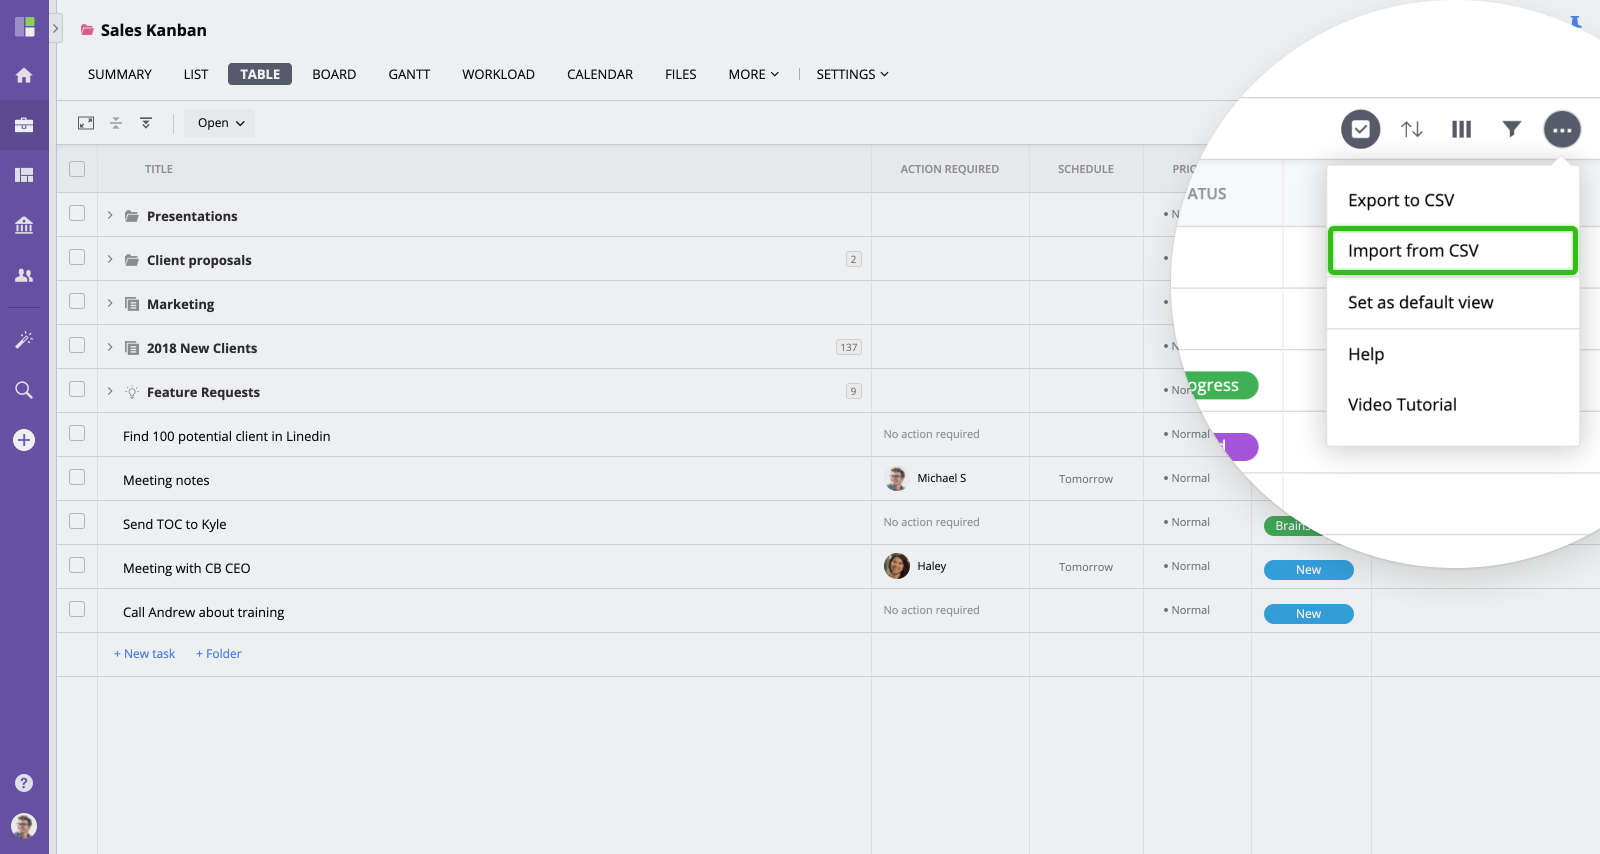
To import tasks into


