Reports
- Project Reports
- Enabling & Configuring Project Reports
- Personal Report
- Enabling & Configuring Personal User Reports
Project Report
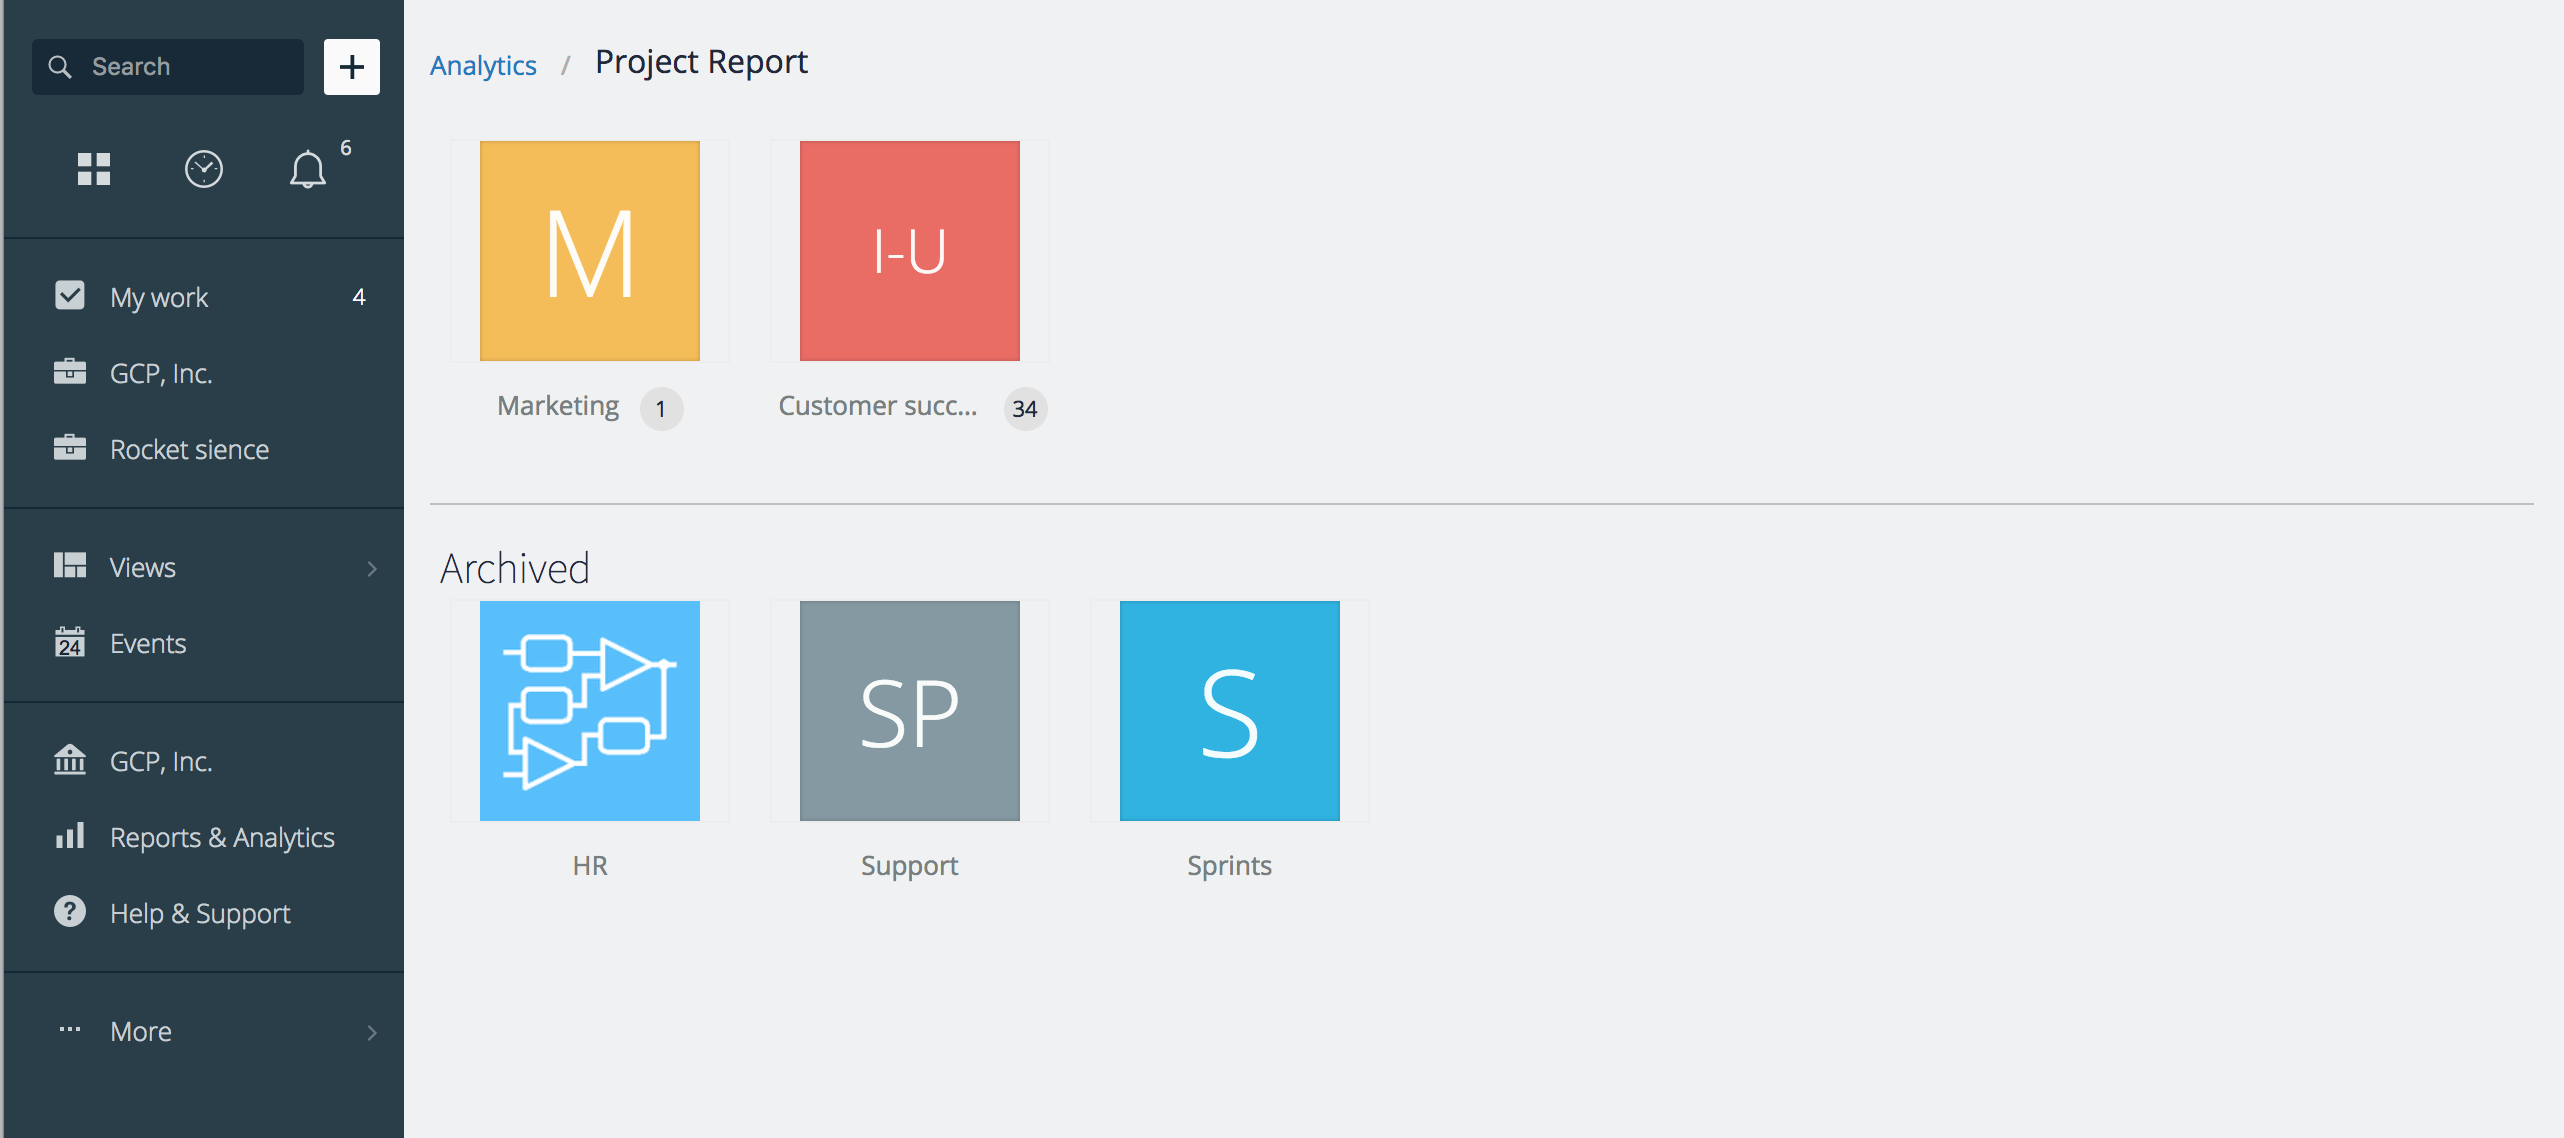
Project Report section of GoodDay analytics includes an archive of all project reports that have been generated to-date. If you do not see any reports in this section, it means you have not yet enabled reports for any projects, please read ‘Enabling Project Reports’ section below first.
To review your project reports, select one from the list of projects you have reports enabled for on the first screen.
Now, you will see a list of all reports since the date you’ve enabled them. Choose the report you’d like to review. In the Project Report view mode, you will be able to switch between the individual reports with the help of the date selector on the top right.
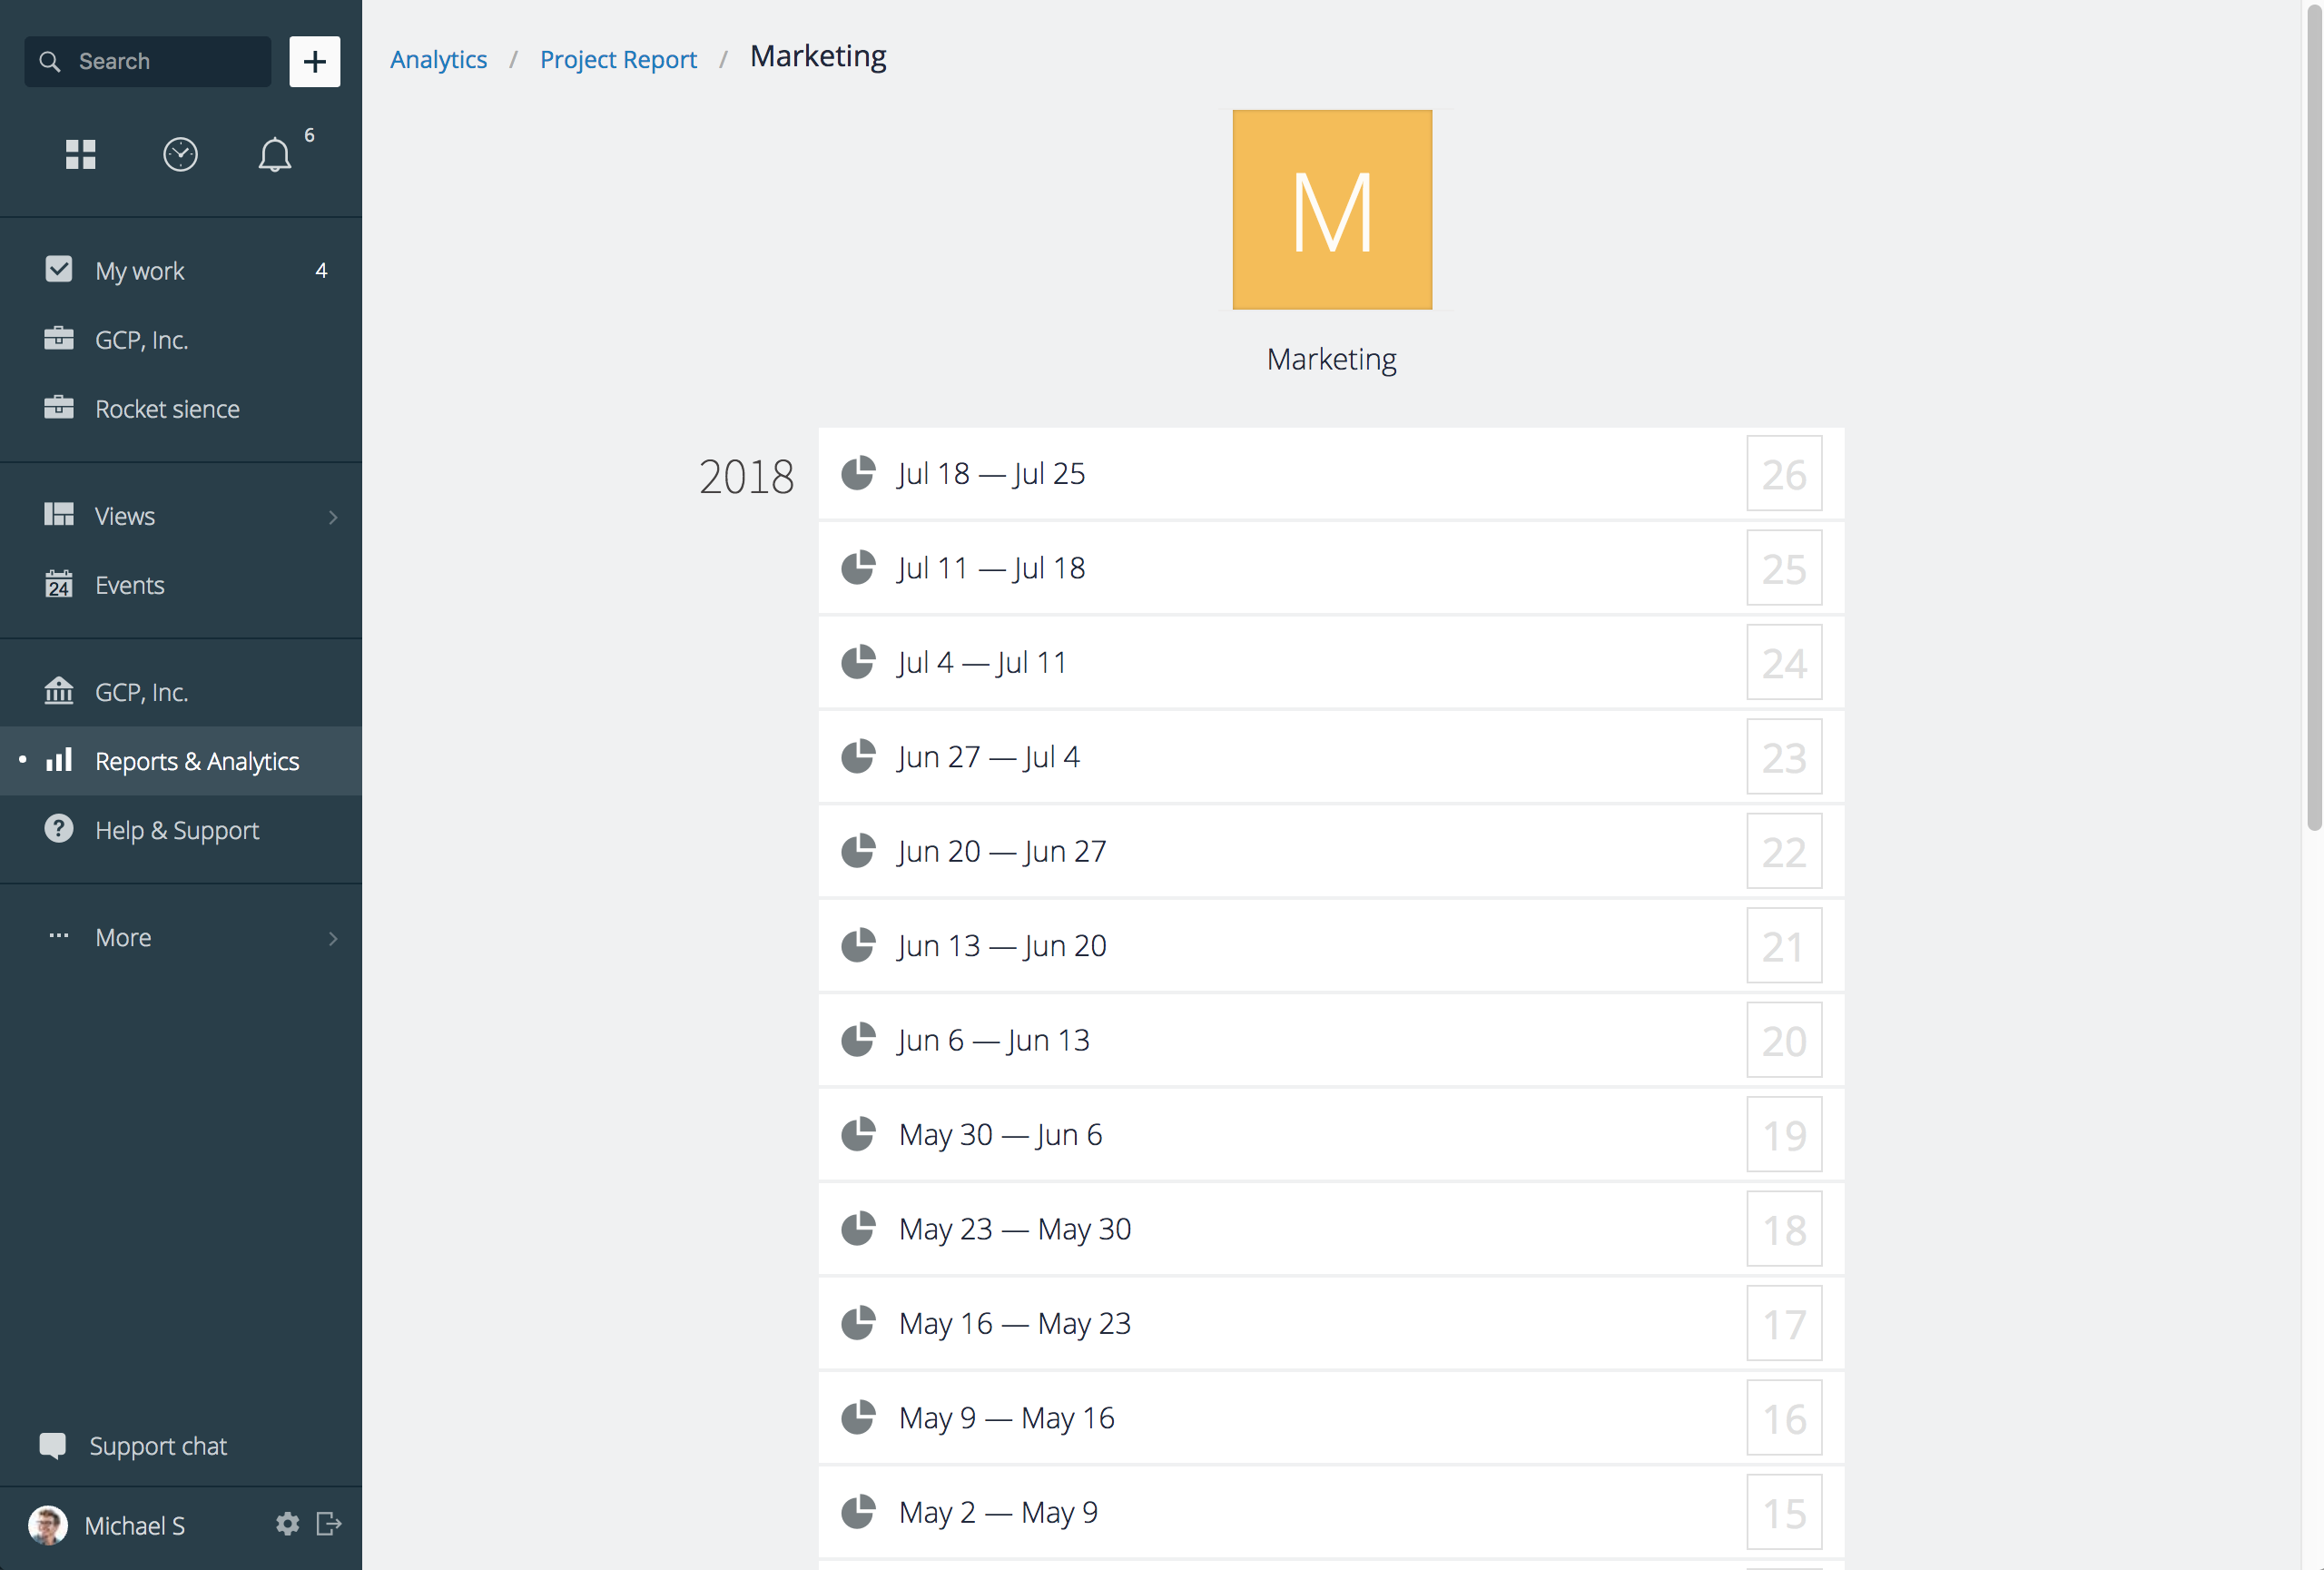
The Project Report includes comprehensive information on all aspects of your project and allows you to track progress, completed tasks, reported time, all activity for the reporting period, as well as what has been planned (or is planned, if you are reviewing the latest report) for the following week. Activity, time reporting, task planning, and summaries are presented by user as well.
Enabling & Configuring Project Reports
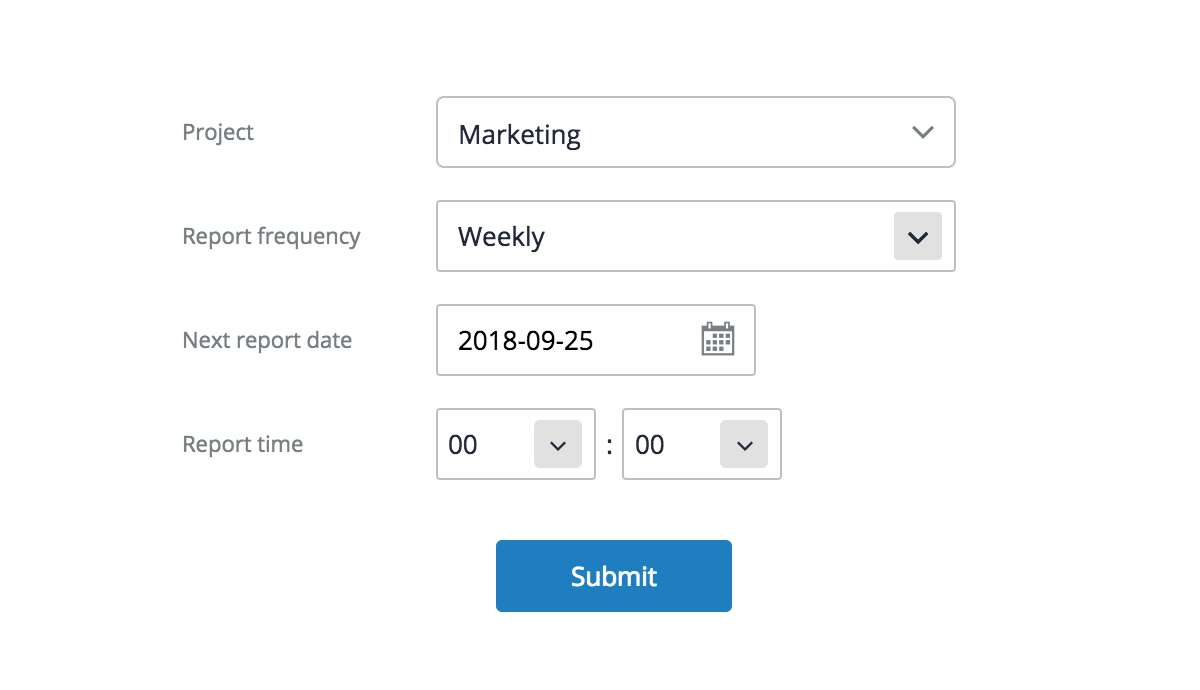
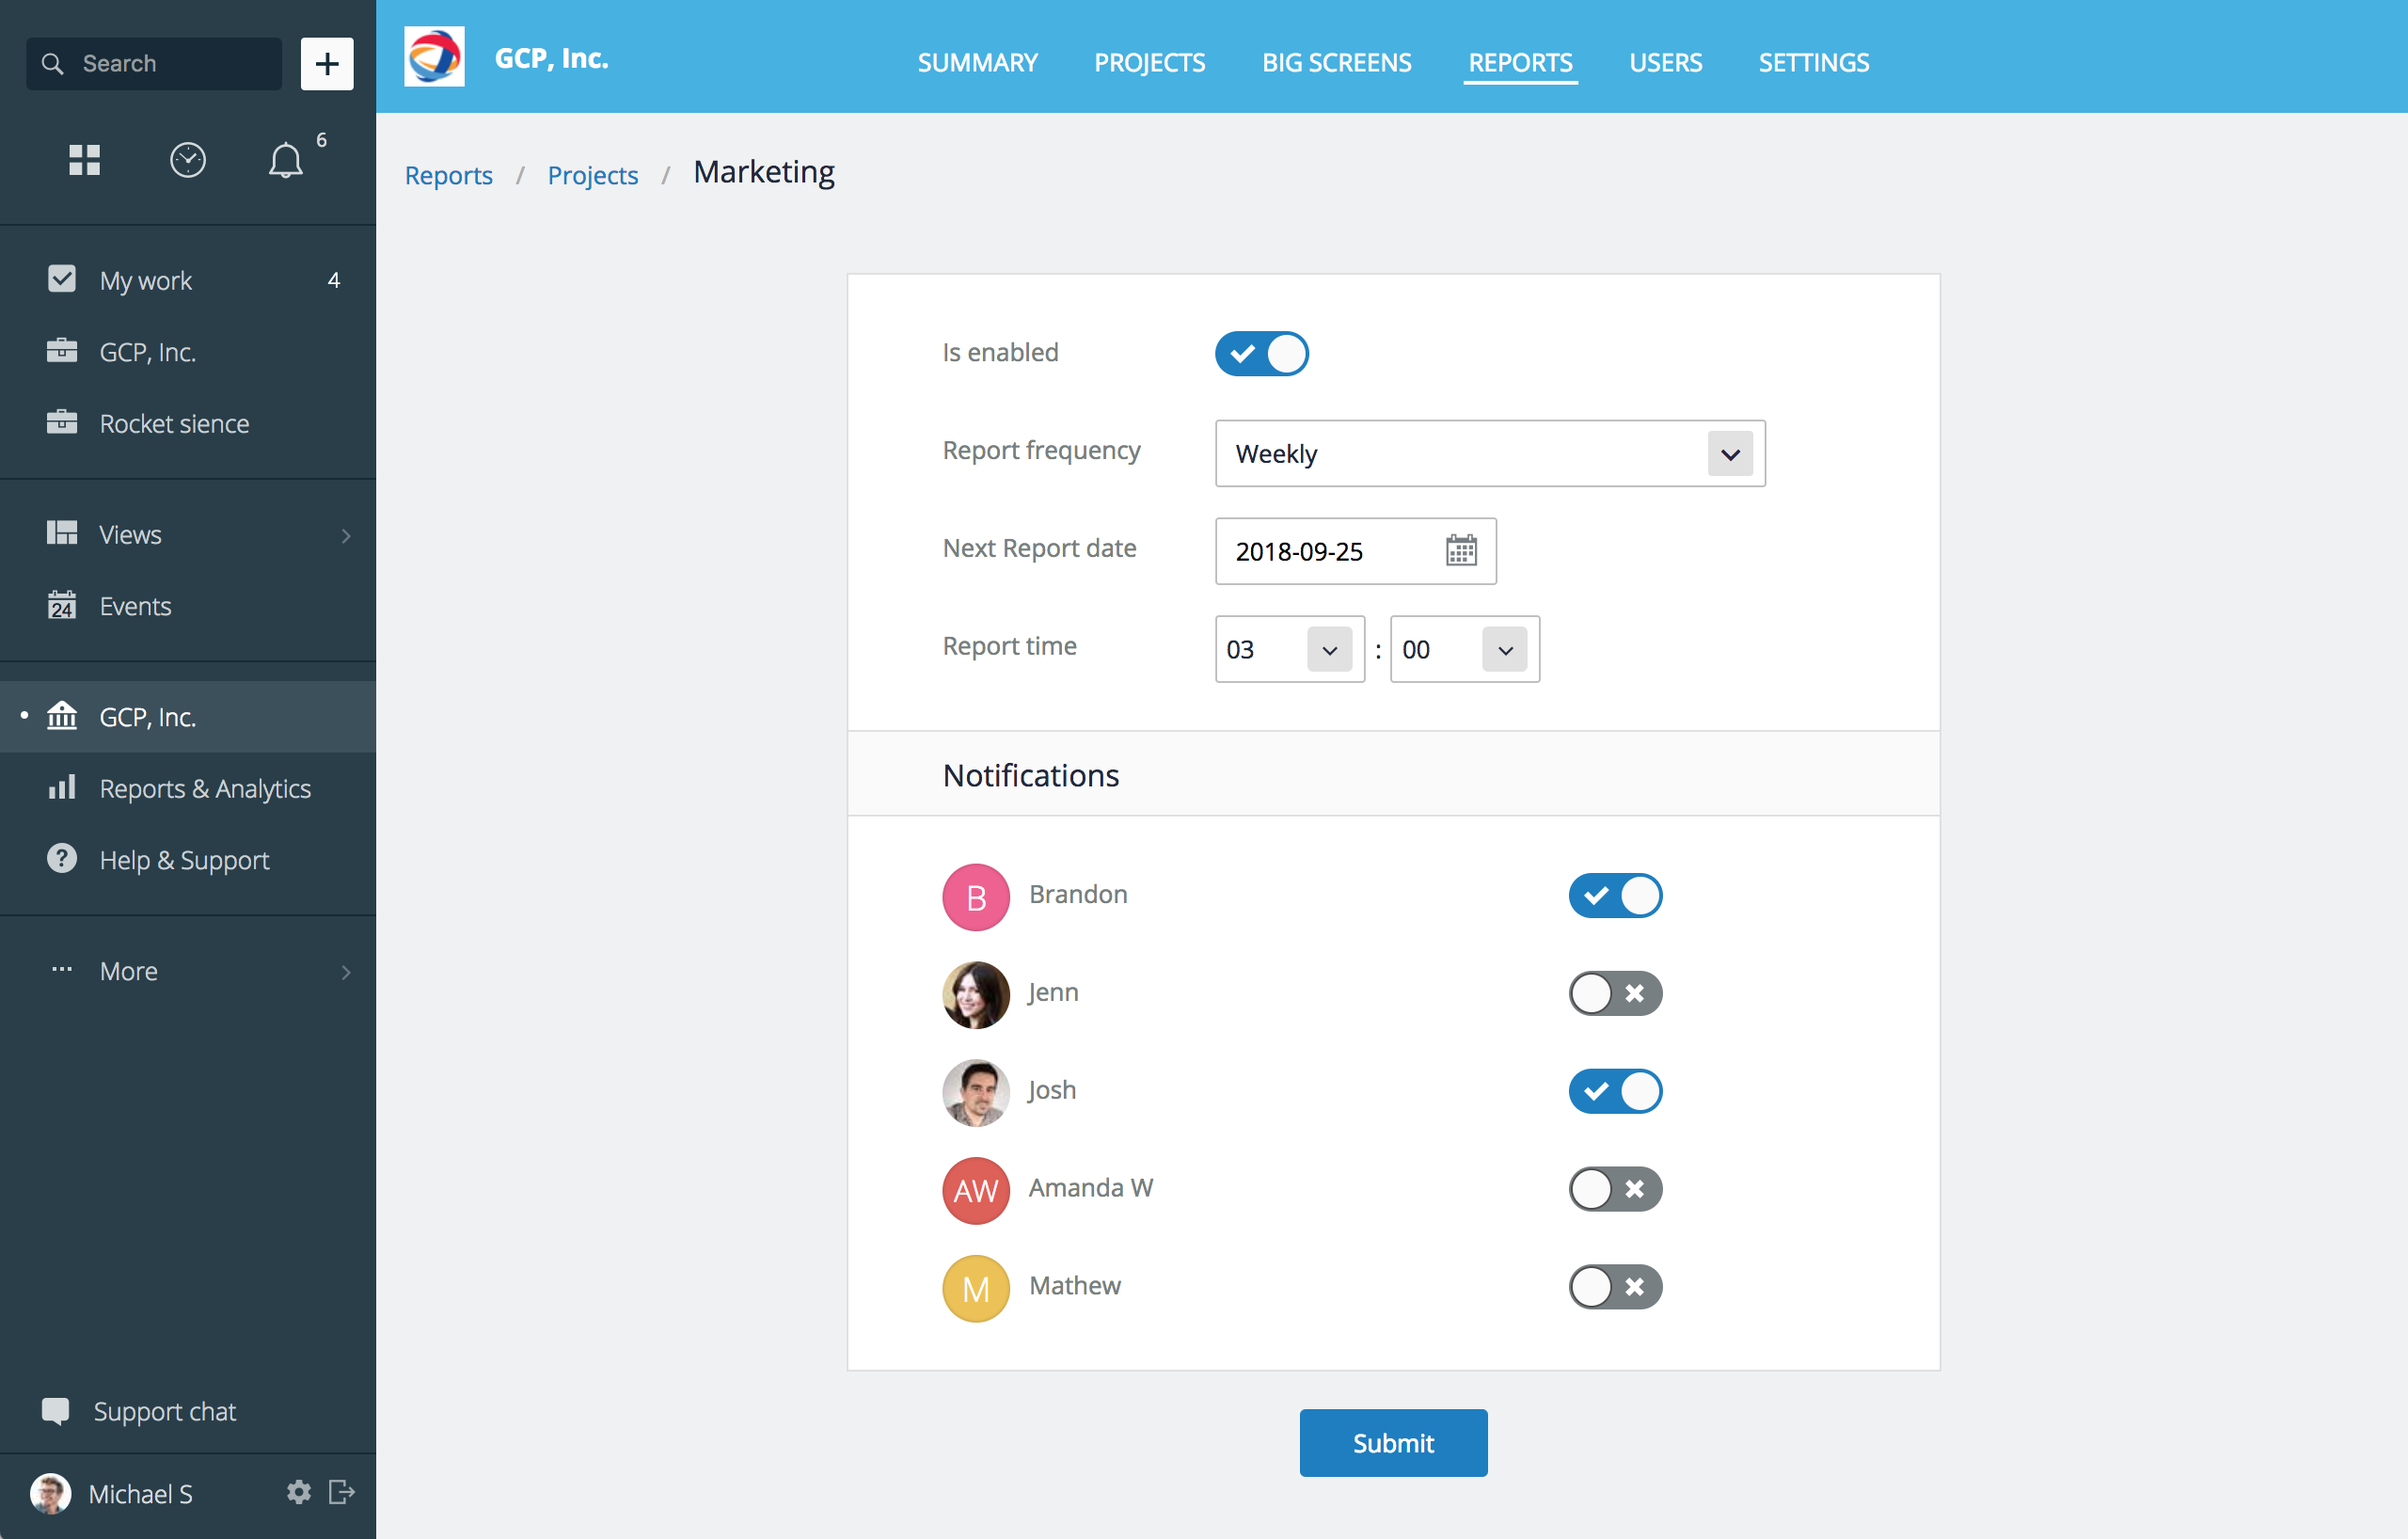
Go to Organizations (main left menu), navigate to Reports section in the top menu of your screen, and click Project. To add a new Project Report, click +Project Report. In the modal window, choose the project you want to generate periodic reports for, how often you’d like to receive the reports (weekly, every 2 weeks, or monthly), on what date reporting should start, and the time of day the report must be generated and delivered.
After you have configured and saved your new Project Report by clicking Submit, you will see it in the list of reports both in your current section and in Reports & Analytics → Reports → Project Reports. If you’d like to configure report notifications, click on the name of the report and select users that will receive report notification to their My Work dashboard. Click Submit to save your notification settings.
Personal Report
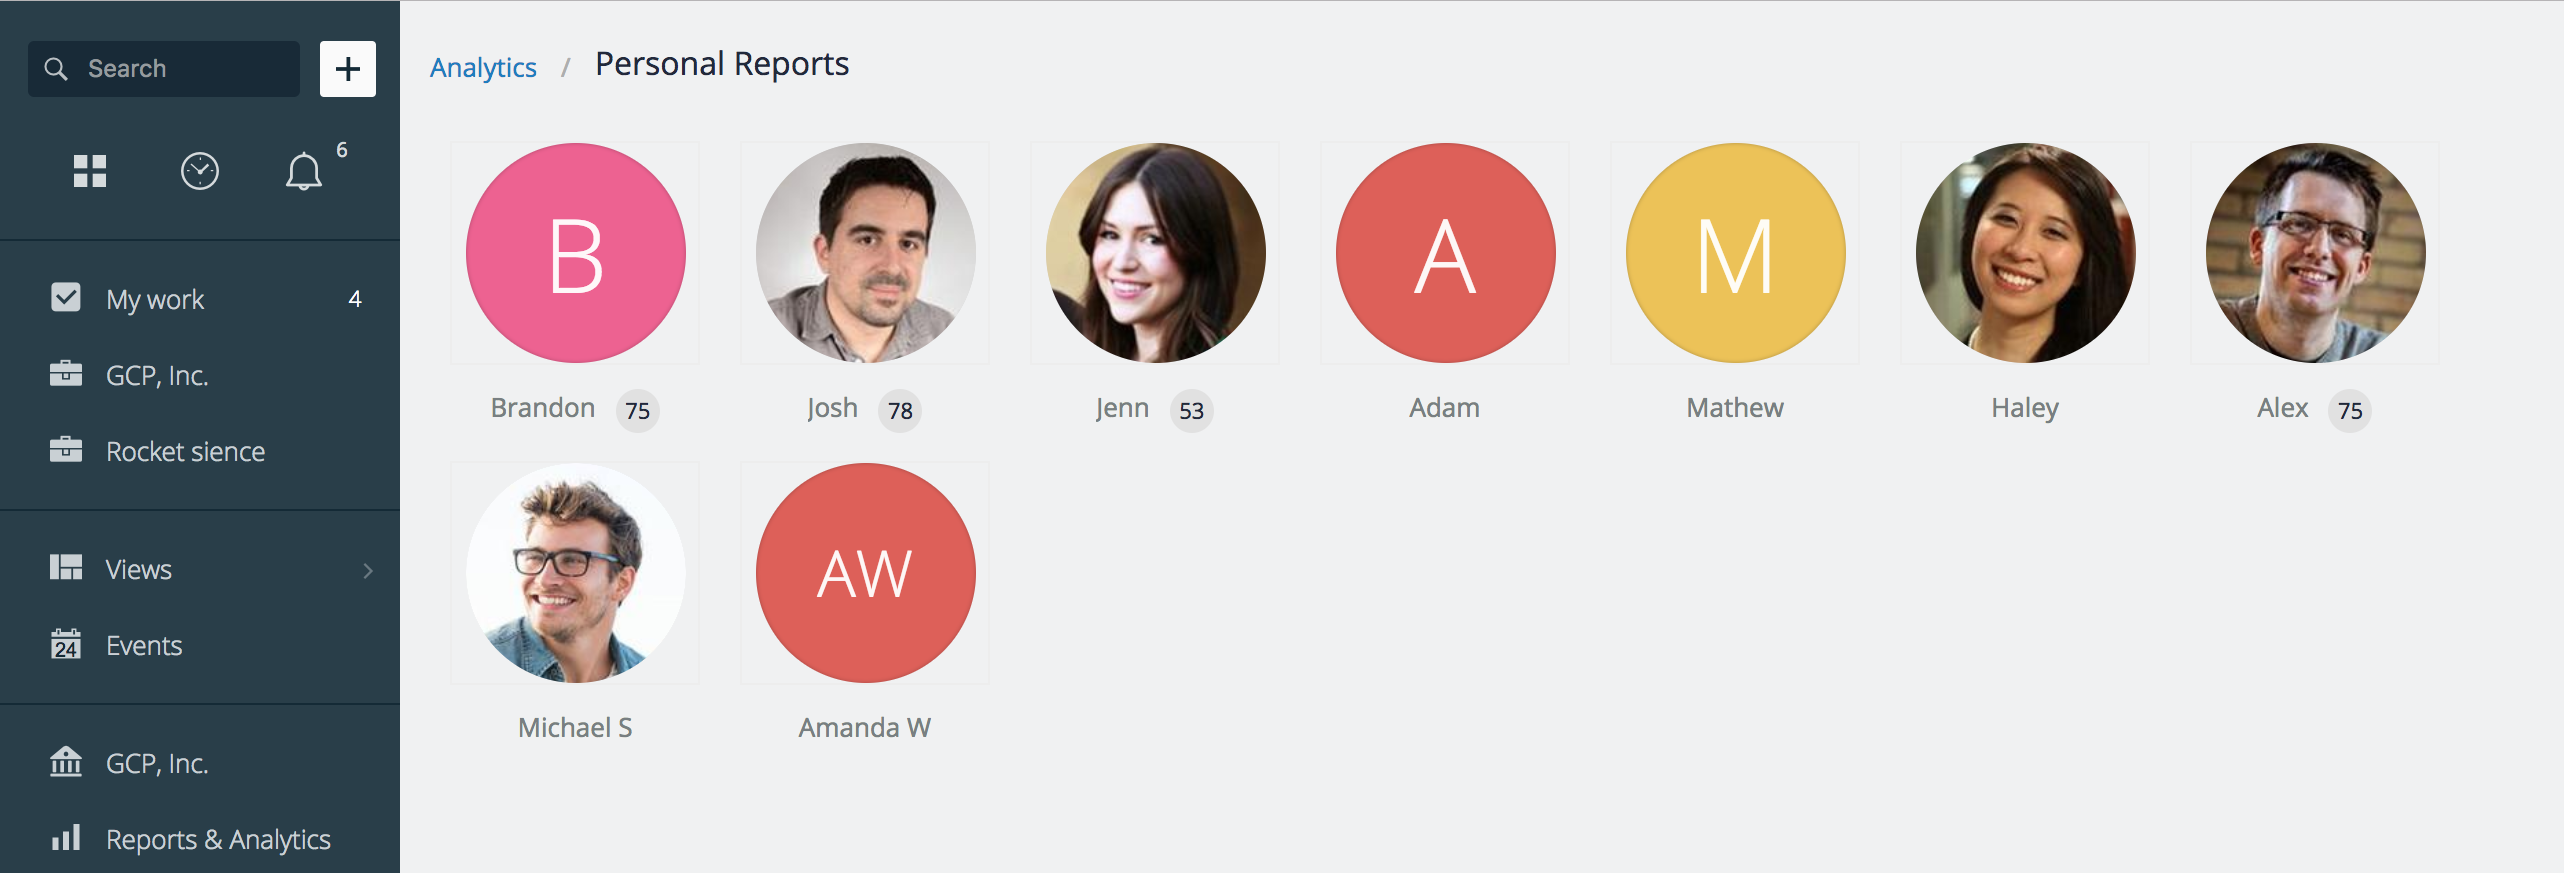
Personal Reports section of GoodDay analytics includes the archive of all Personal Reports that have been generated for your organization’s users. Note, that you will only see reports for users that have Personal Reports enabled. The number next to user avatars indicates how many reports are available.
Note: If you do not see a number, it means you have not yet enabled Personal Reports for that user. Read how to ‘Enable Personal User Reports’ below.
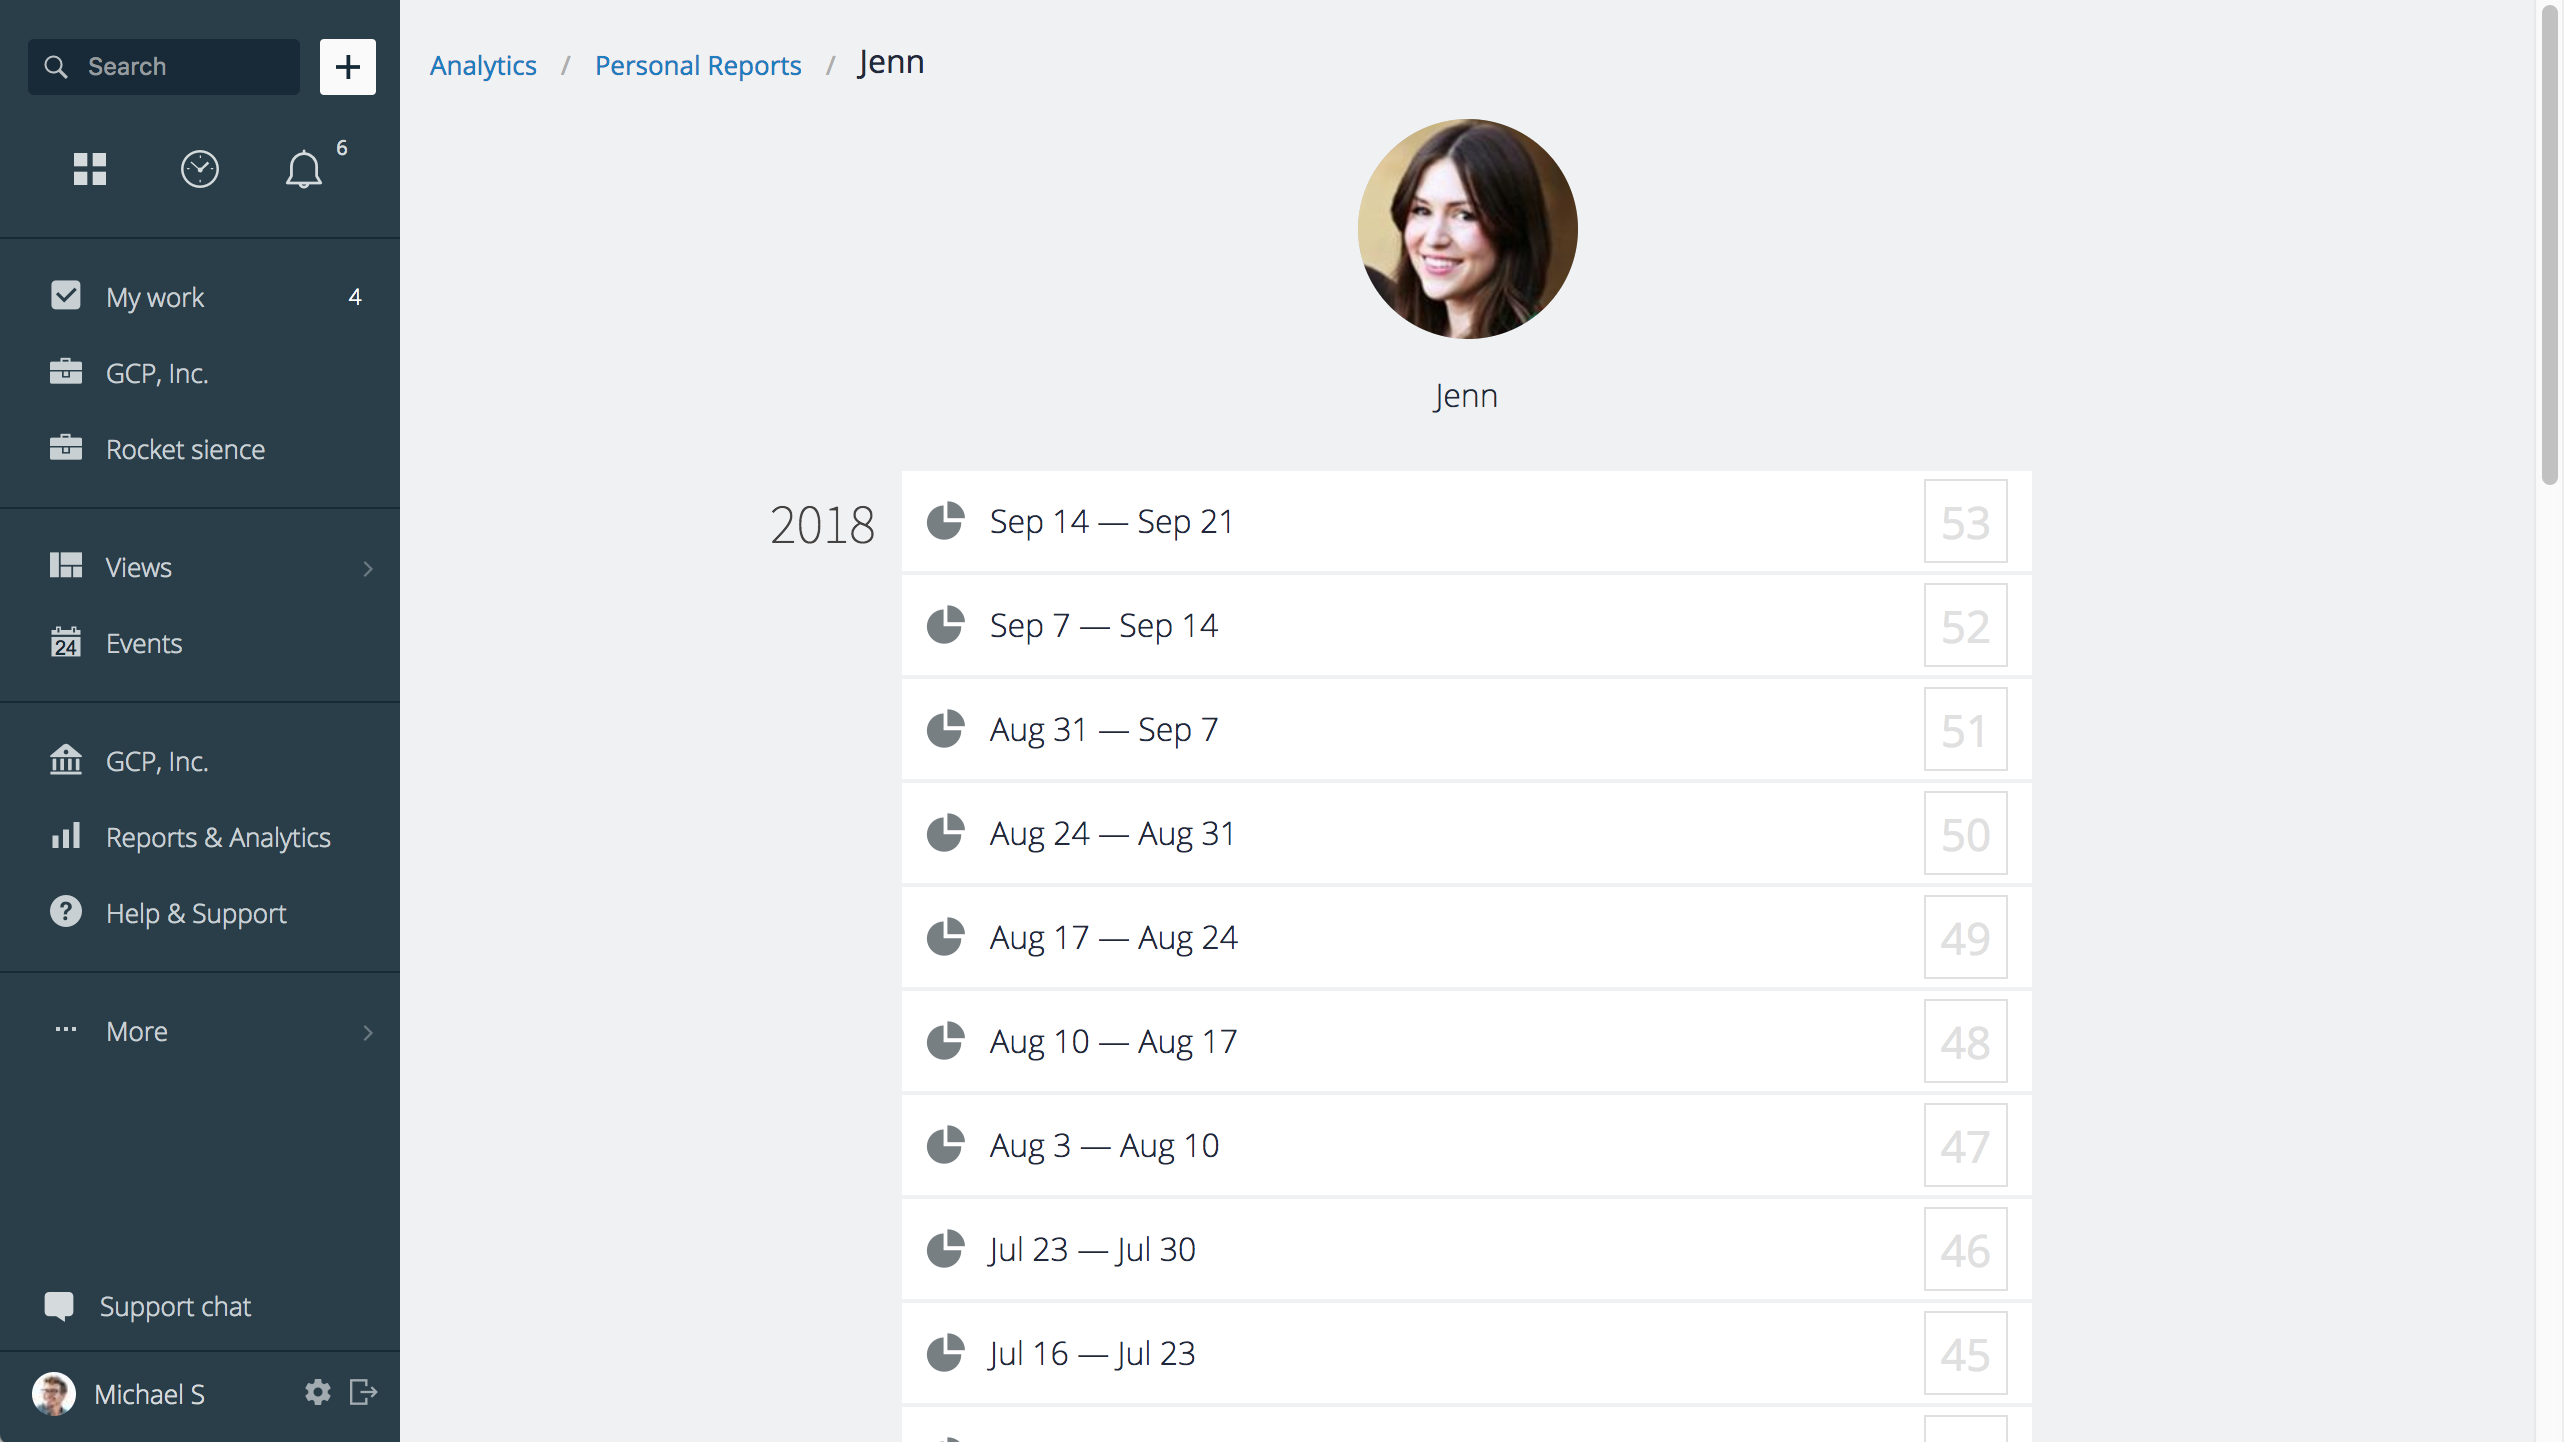
After selecting a user, select the report you’d like to review from the list of regular saved reports. In the Personal Report view mode, you will be able to switch between individual reports with the help of the date selector on the top right.
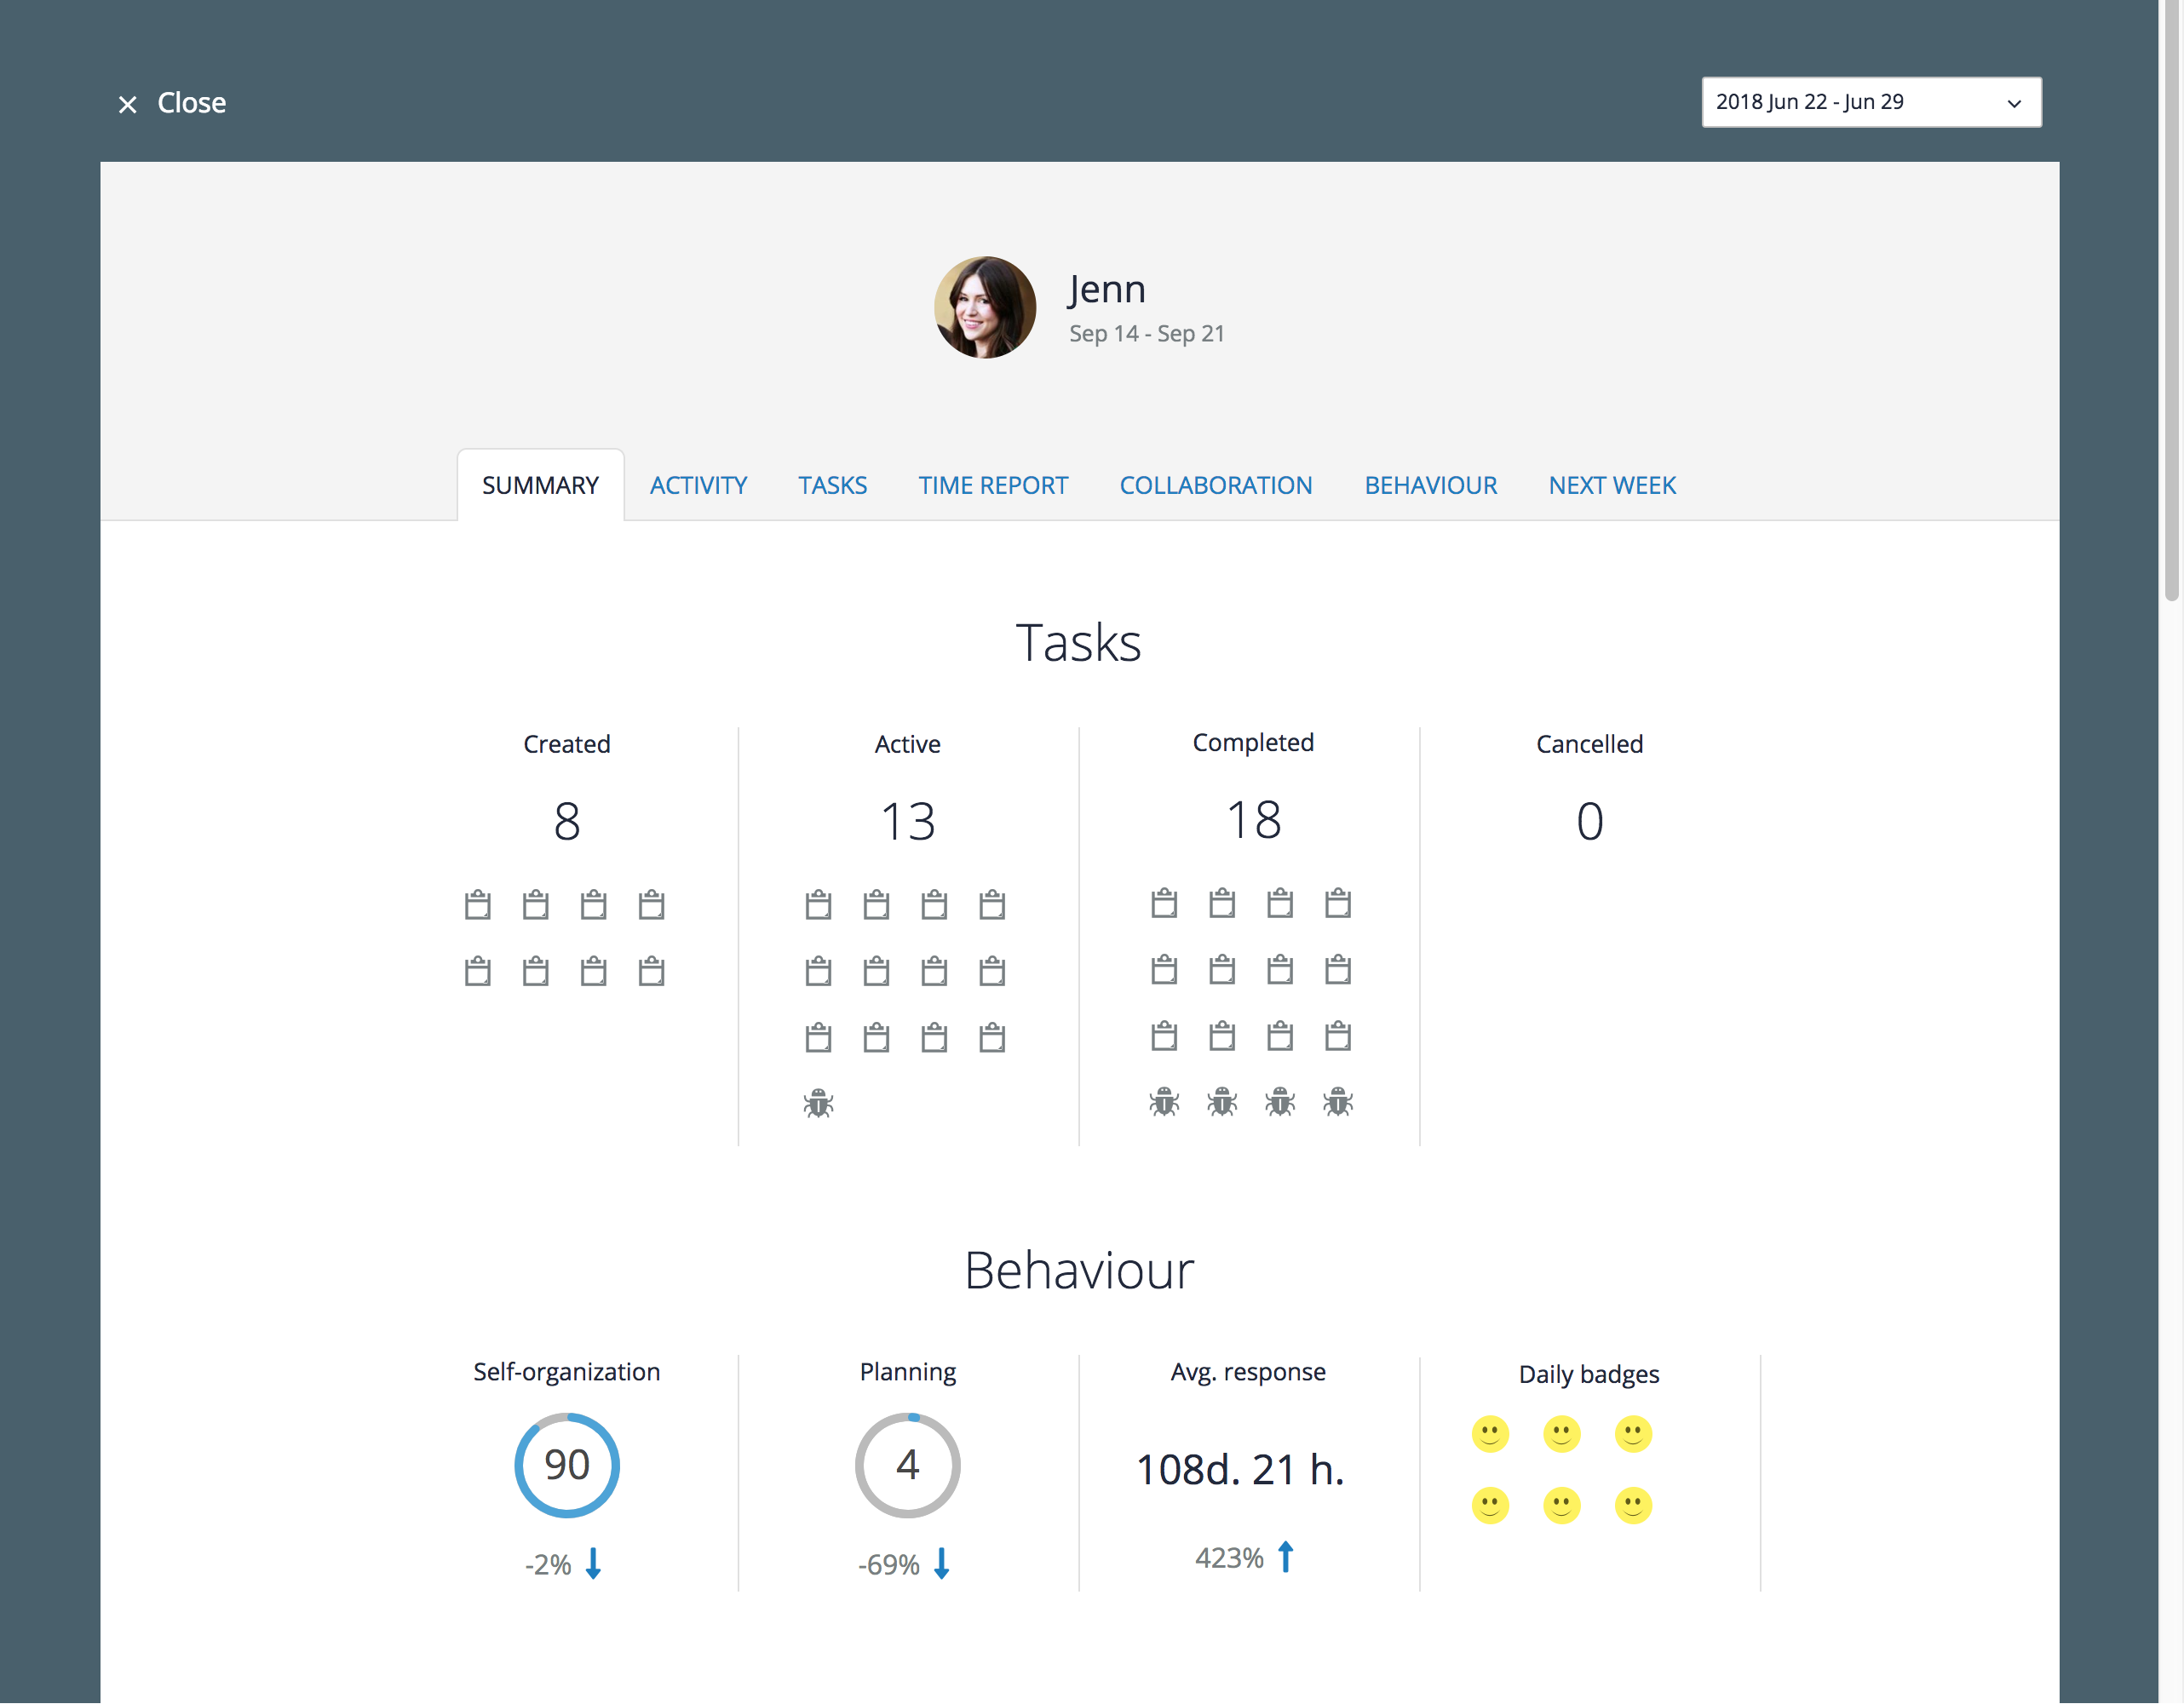
Personal Reports include comprehensive insights on the user’s activity, behavior, collaboration, time reporting and effort distribution, as well as their plans for the following week (especially relevant for the current report).
Enabling & Configuring Personal User Reports
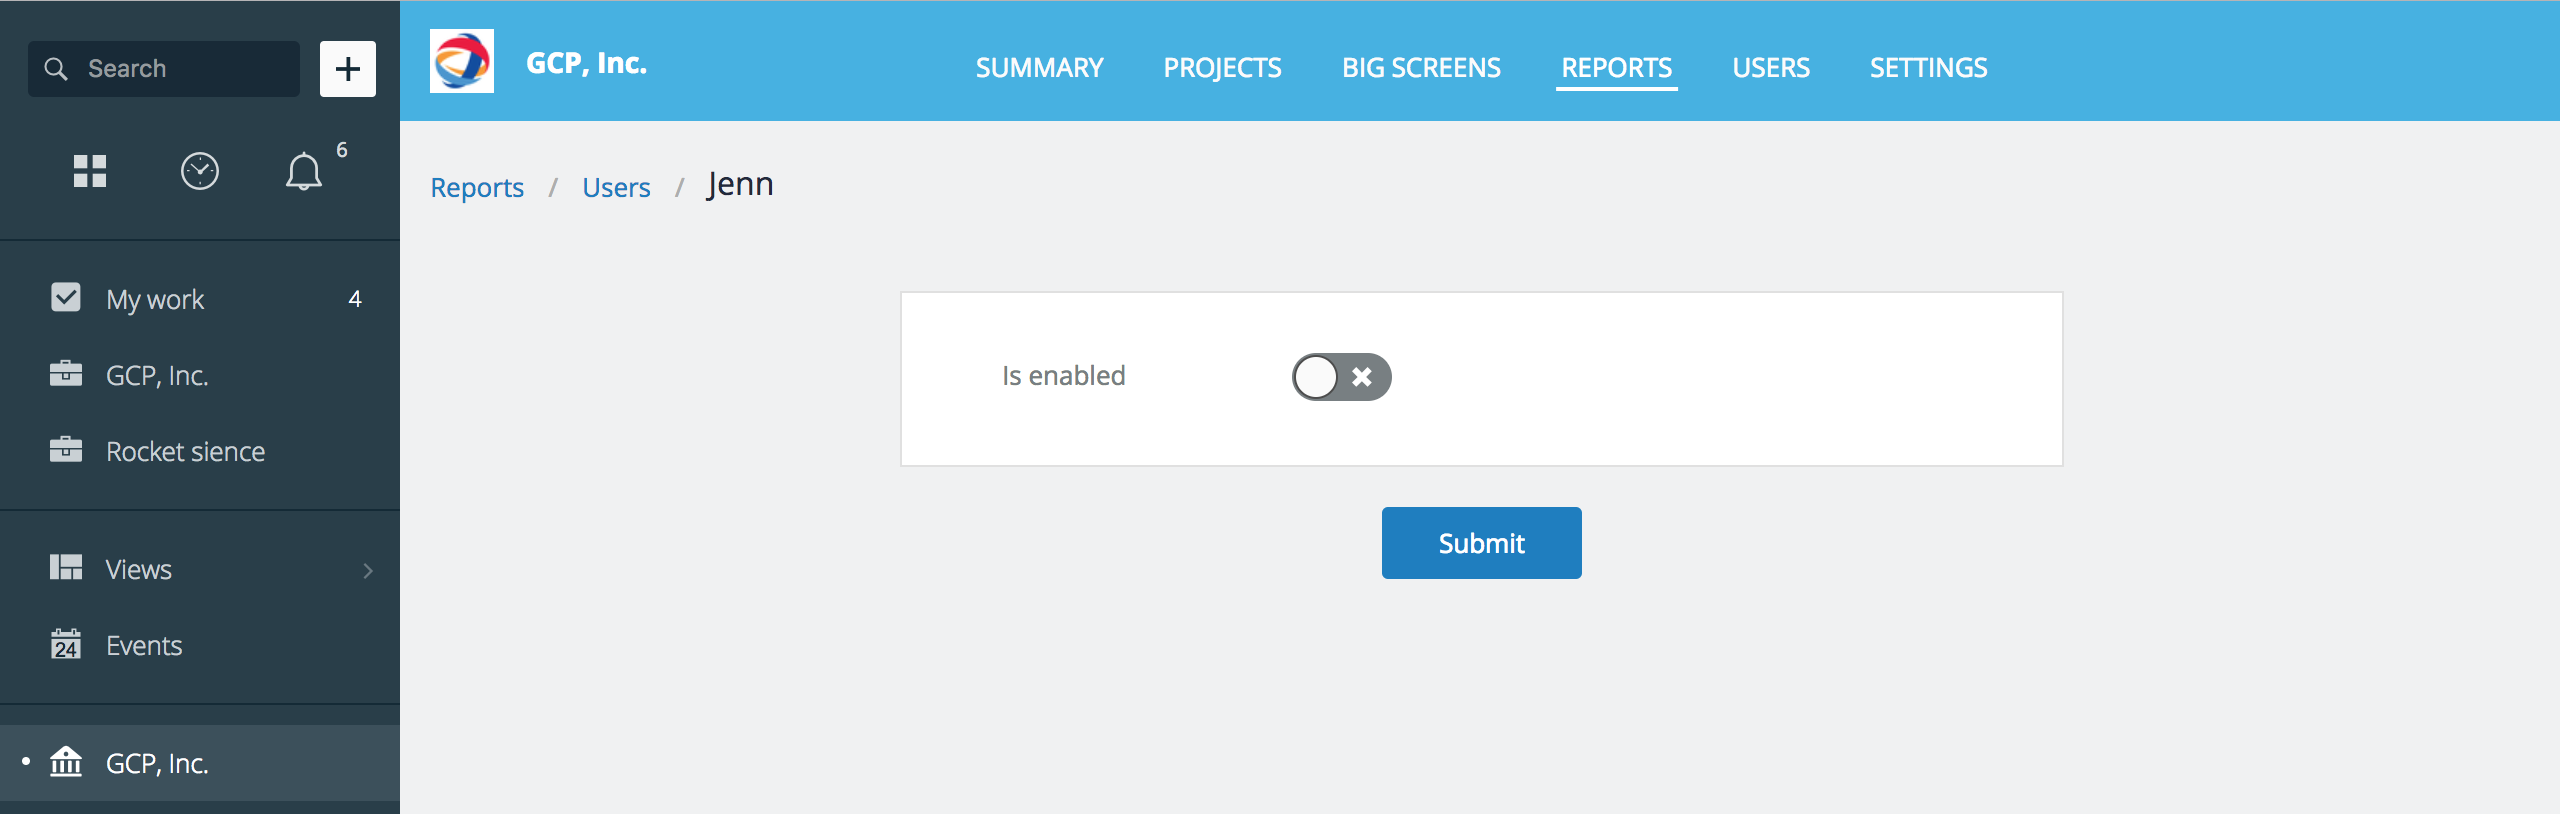
To enable Personal Reports, go to Organization, then navigate to Reports in the top menu, and select Personal Reports. The grey circle next to the user’s name indicates that their Personal Report is not enabled yet.
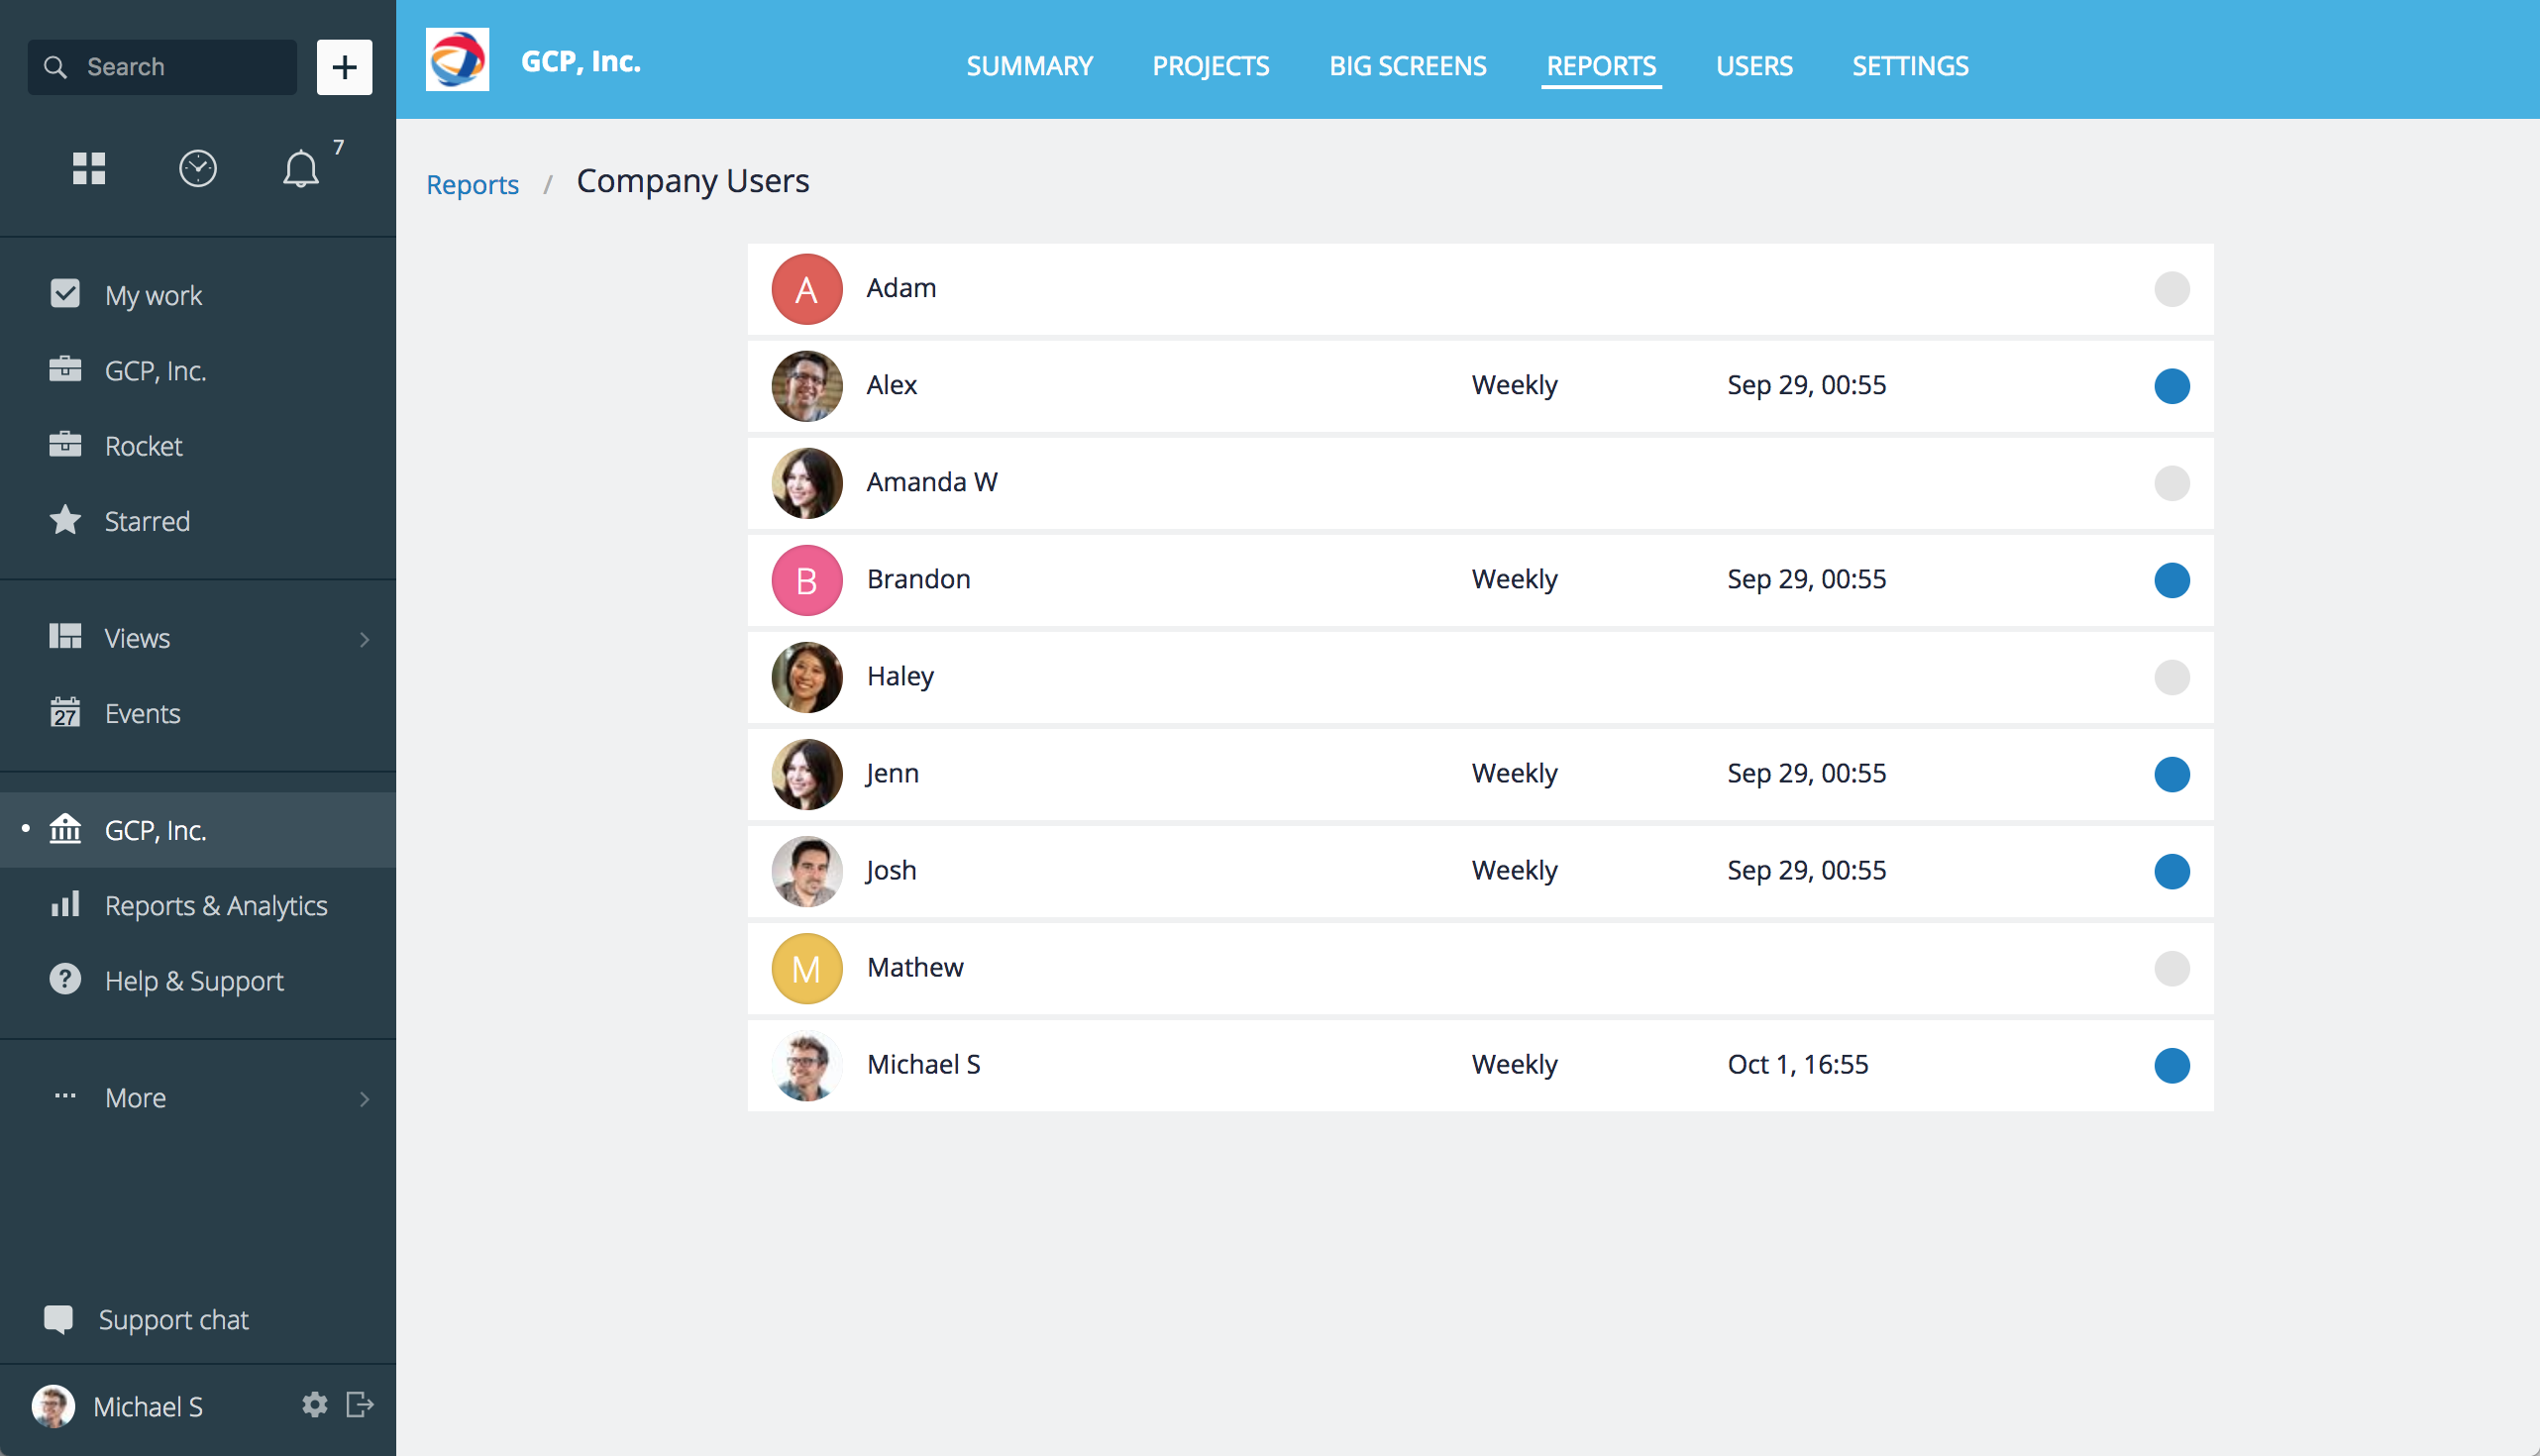
In the list of your organization’s users, click on the user that you want to enable the report for. Switch Is Enabled to ‘On’ position, select the reporting frequency, date to start, time of day to generate and deliver, users to be notified of the new report, and click Submit to save this personal report. You can always update notification settings and other report configurations later to change frequency or add more users to be notified.